
Behind the Practice: How a Sound Session Actually Comes Together
If you've seen the hyper-speed video floating around on social media — me leveling bowls, one by one, with an actual level, then testing them before I start — you may have wondered what's really going on there. So I thought I'd slow it down and walk you through the fuller process, from theme to final export, that gets me to that moment.
Whether I'm setting up for a private session or recording content for the membership platform, the process is pretty much the same. It's part ritual, part sound engineering, and — if I'm honest — part Virgo.
It Starts With a Theme
Before I touch a single bowl, I decide what (or who) the session is for. A theme might be tied to a season, an intention (grounding, release, clarity), or simply a feeling I want to build toward. Everything else — the key, the instruments, even the lighting — I chose to support that theme, not the other way around.
Then, a Key
Once I know the intention, I choose a musical key to build the session around. This isn't just an aesthetic choice — different keys carry different qualities, and choosing one first gives me a foundation to select instruments that will actually sit well together, rather than pulling bowls and instruments at random and hoping they blend.
Choosing Bowls & Instruments That Coordinate
With a theme and a key in place, I select the specific bowls and instruments that support both. This is where the palette of the session really takes shape — which crystal or metal bowls, whether a drum or rain stick has a place in this particular piece, how voice or chimes might round it out. I have perfect pitch crystal bowls for almost every note across three full octaves, which means that whatever key I land on, I'm rarely without the right bowl to match it.
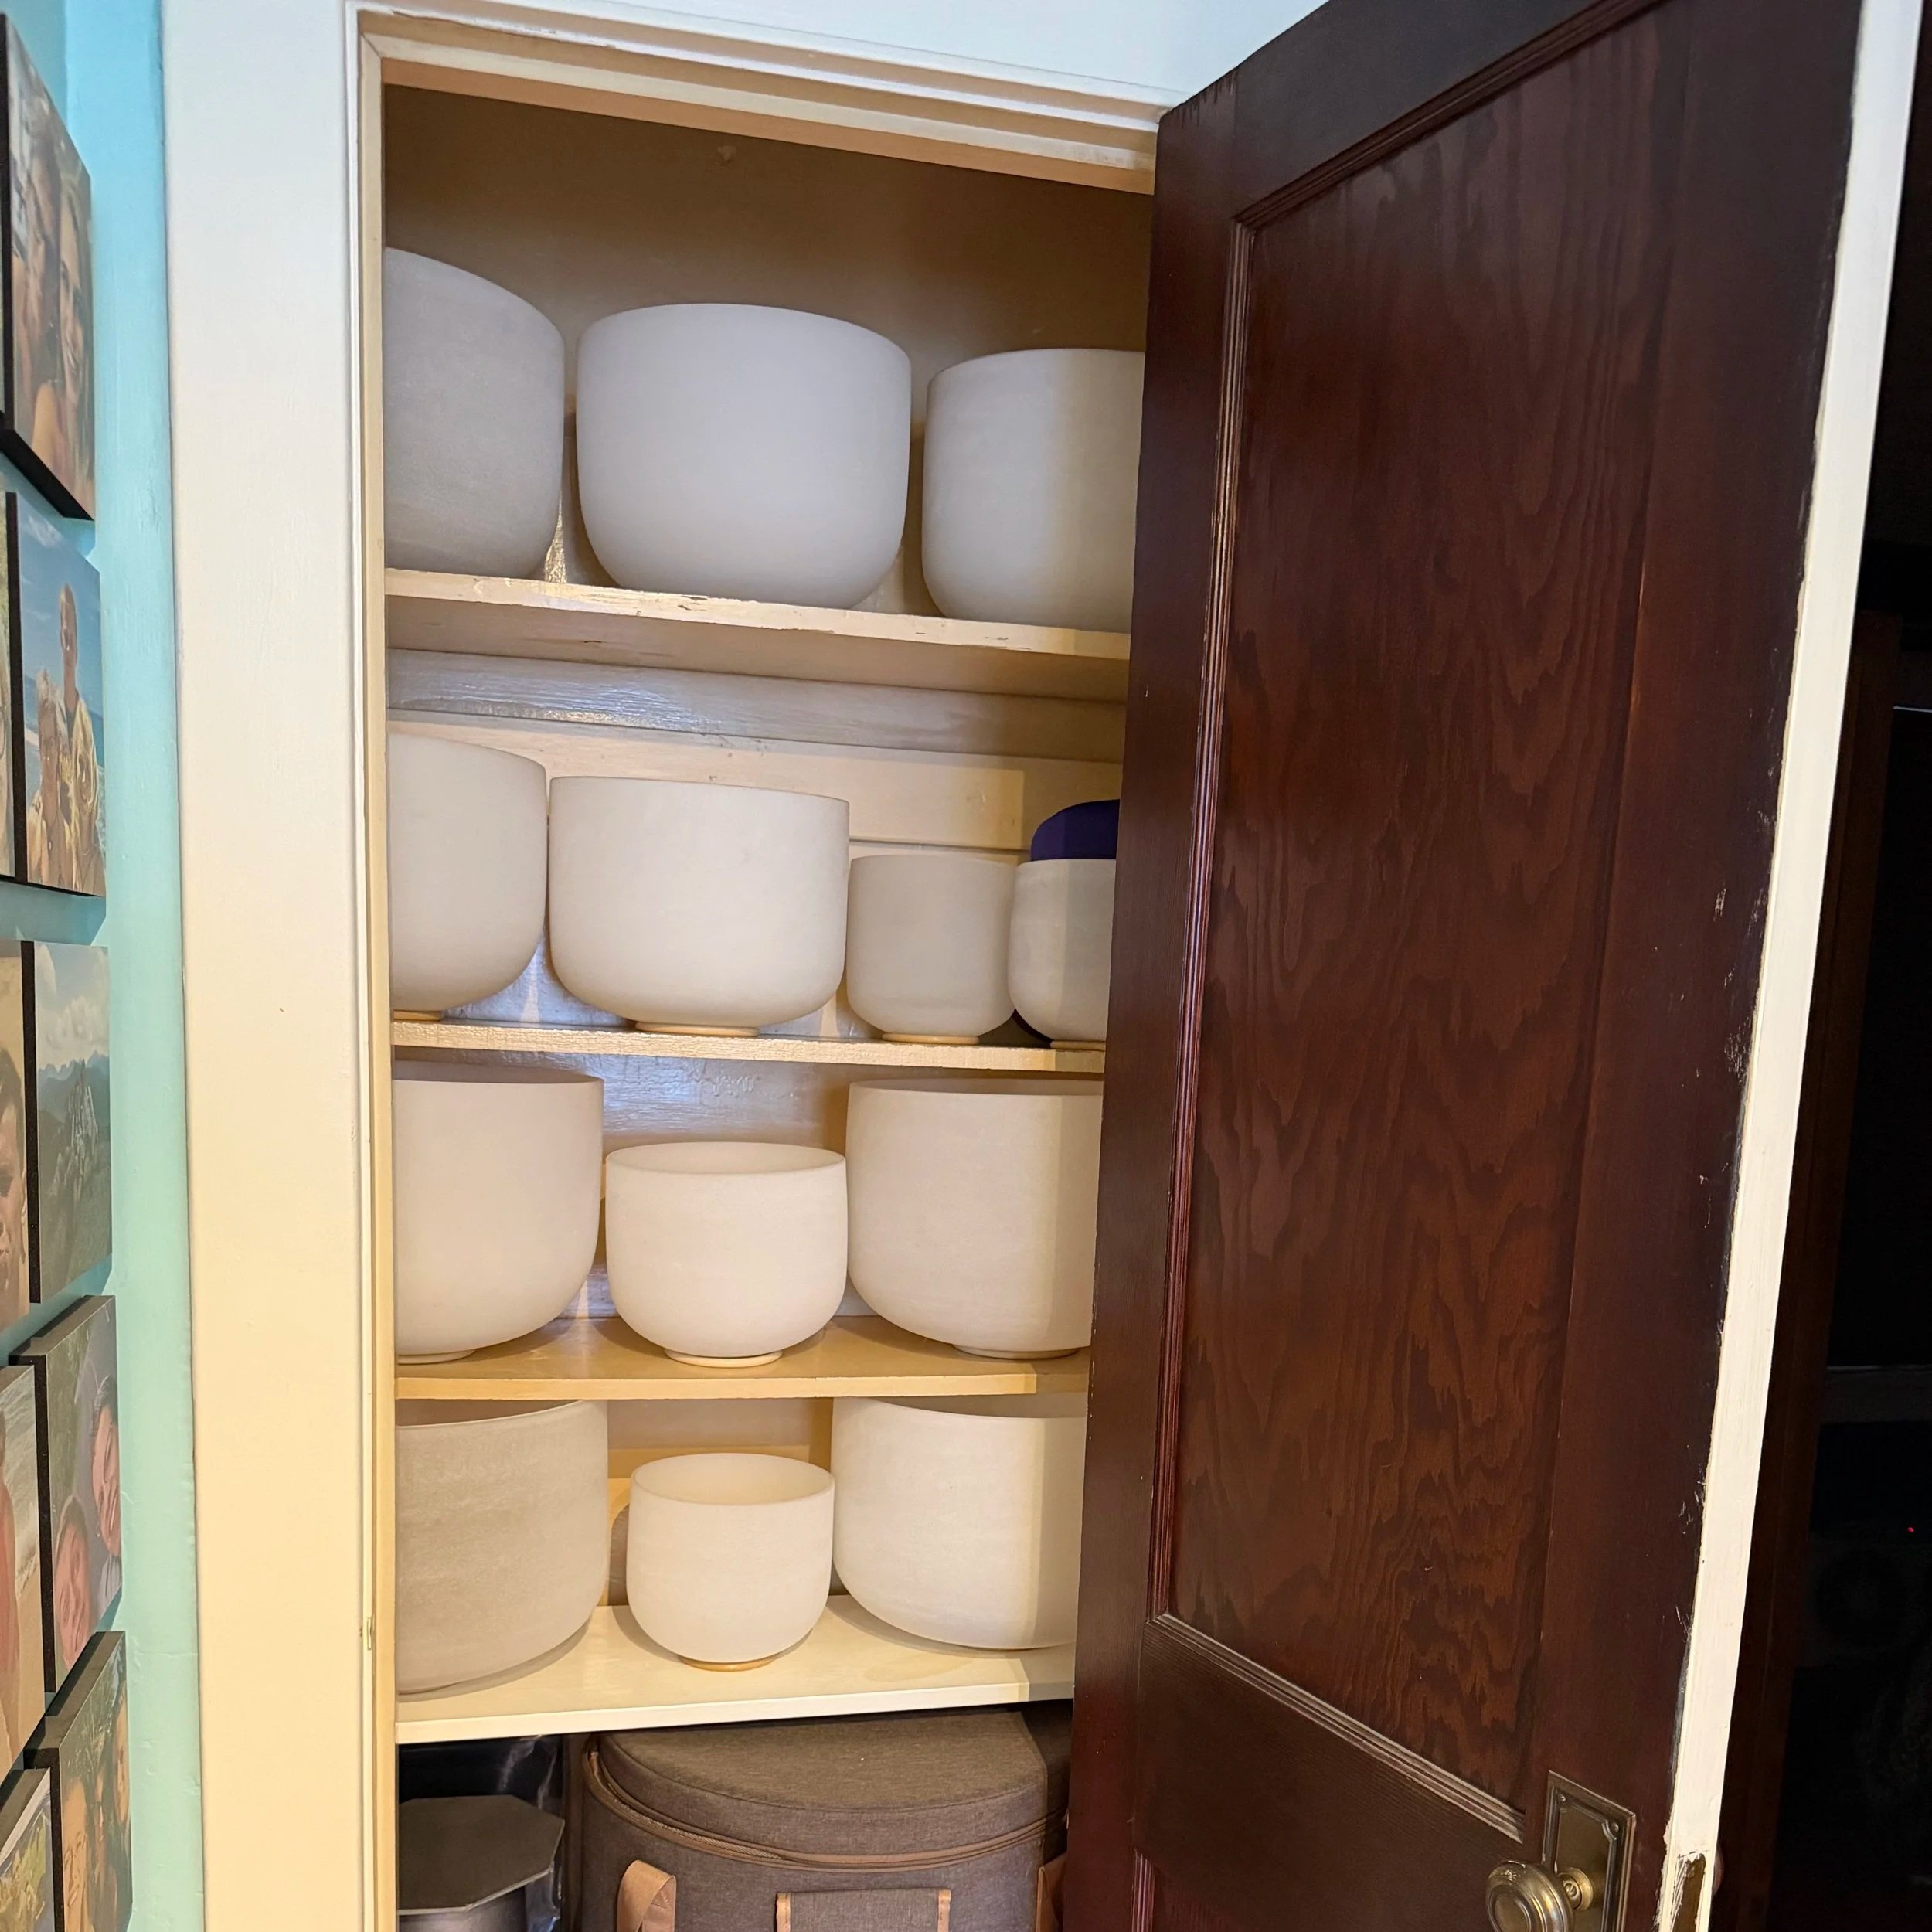
What’s in your closet?
Lighting Color (and, Yes, the Outfit)
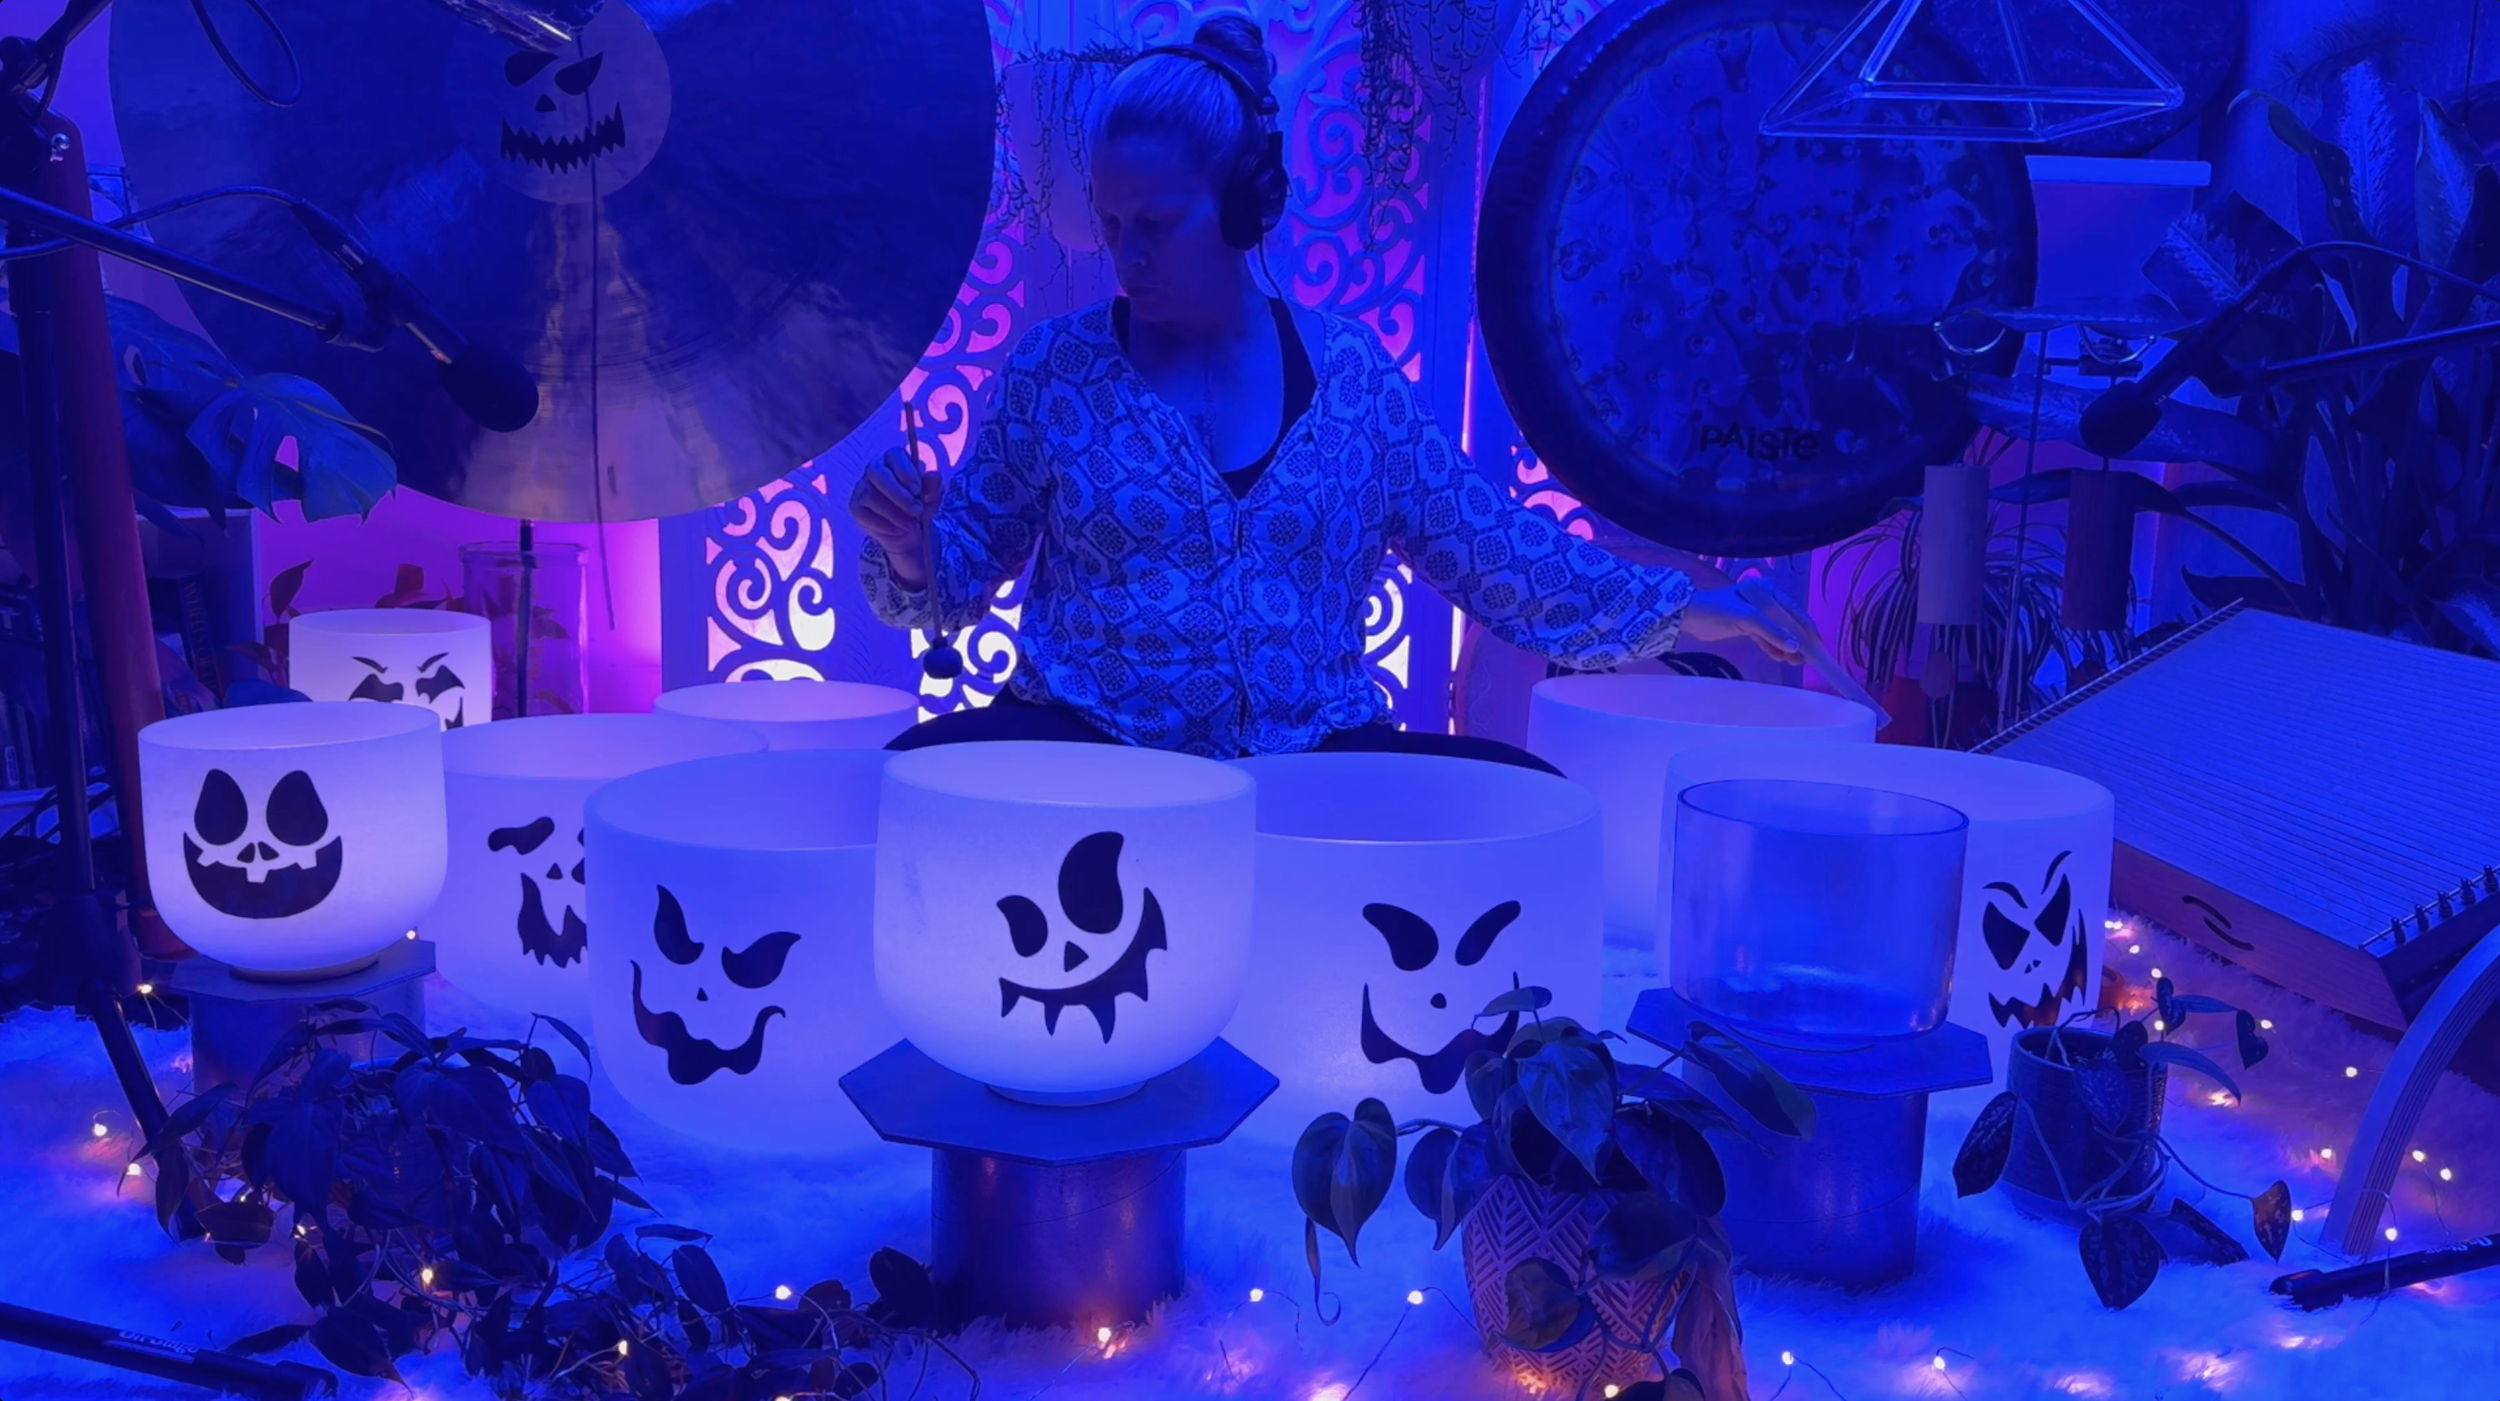
Color matters, both for how a session feels and — if it's being filmed — how it looks. I choose a lighting color that matches the theme, and I'll coordinate what I'm wearing to it as well. It's a small detail, but it keeps everything visually cohesive if I’m recording the session, and it helps set the tone even in a private, in-person session. Sometimes I even dress the bowls up!
Hang Everything First (Don't Break a Bowl Protocol)
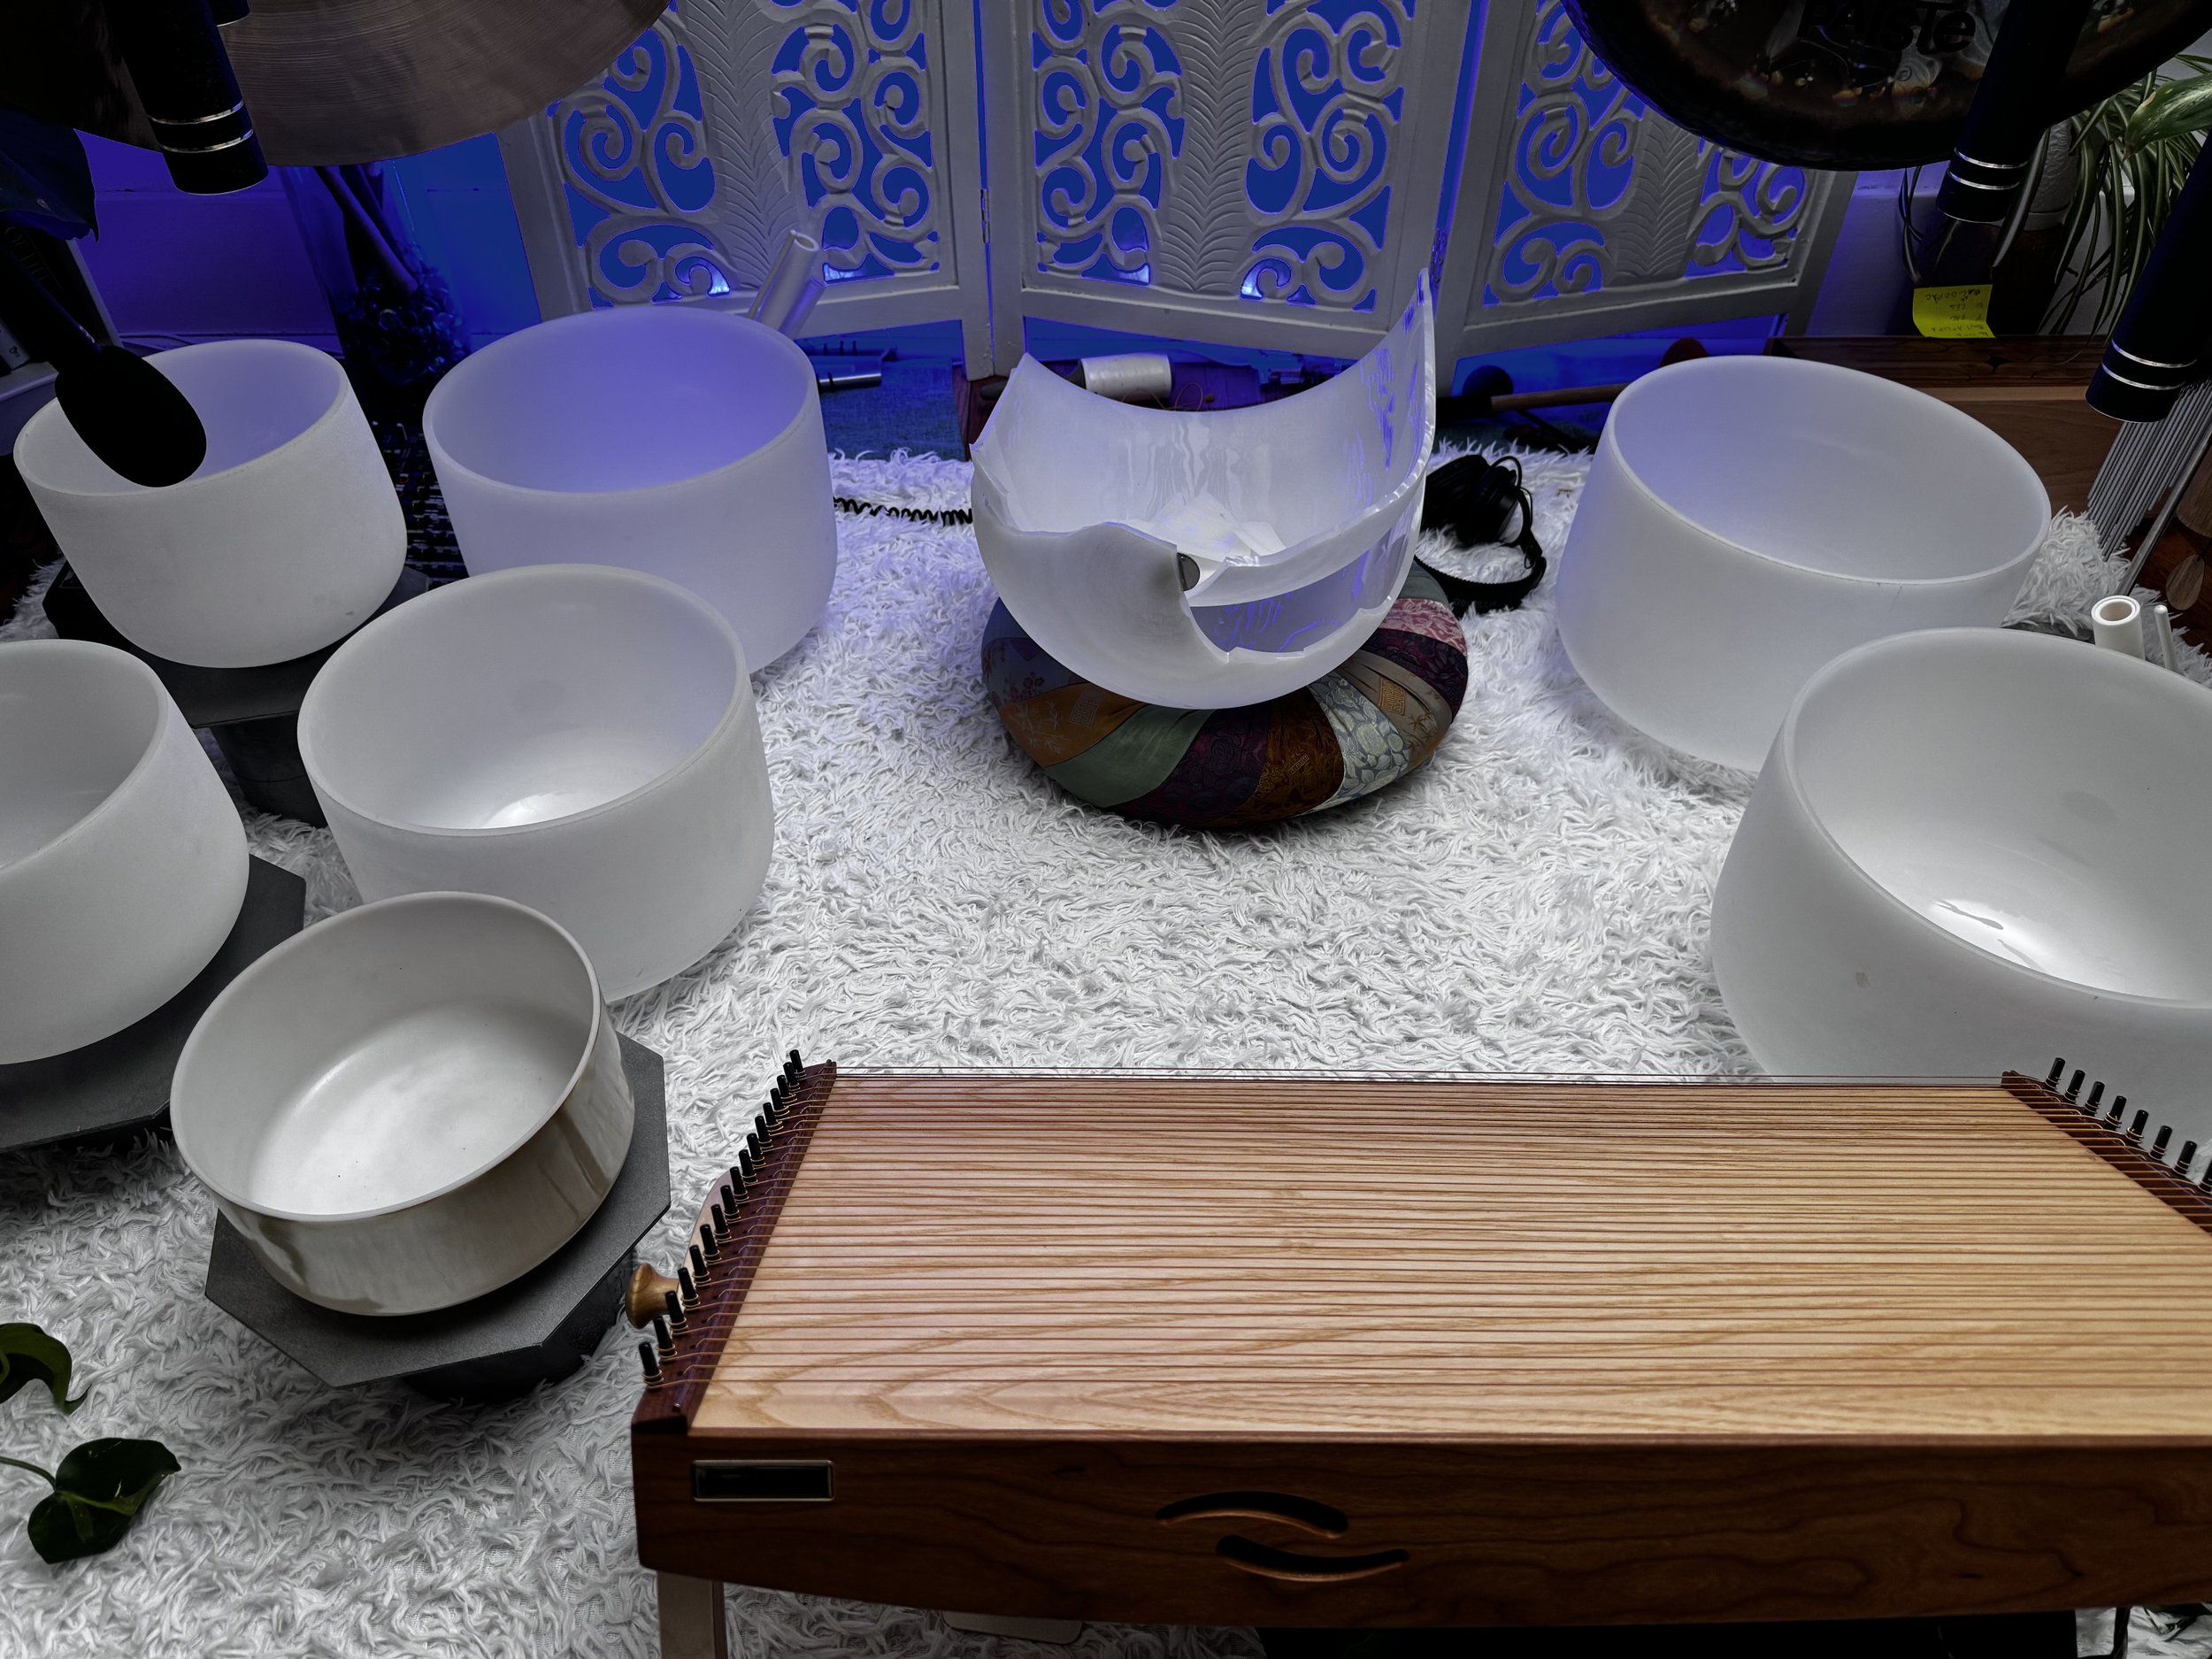
Before I put any crystal bowls in place, I hang all the instruments that need hanging. This step happens early and deliberately — I have a strict "don't break a bowl" protocol, and that means that nothing fragile gets put into place until everything is secure.
Unfortunately, I've learned that one from trial and error.
Set Up Around the Mics
I recently learned a close-miking technique, and it's changed how I set up entirely. Now I arrange the bowls around the microphones (rather than the other way around) positioning them to capture the fullest, cleanest sound from each instrument. Big thanks to Bob Frye of Querencia Soundworks for the consultation that led me to this technique — it's made a real difference.
Sit in "The Nest"
Once I finish arranging the instruments, I sit down in what I've come to call "the nest" — my spot in the middle of it all — just to check that there's enough room. Specifically: enough room for my knees. If my knees end up touching a bowl once I'm playing, they'll dampen its sound — so this isn't just about my own comfort, it directly affects how the session sounds.
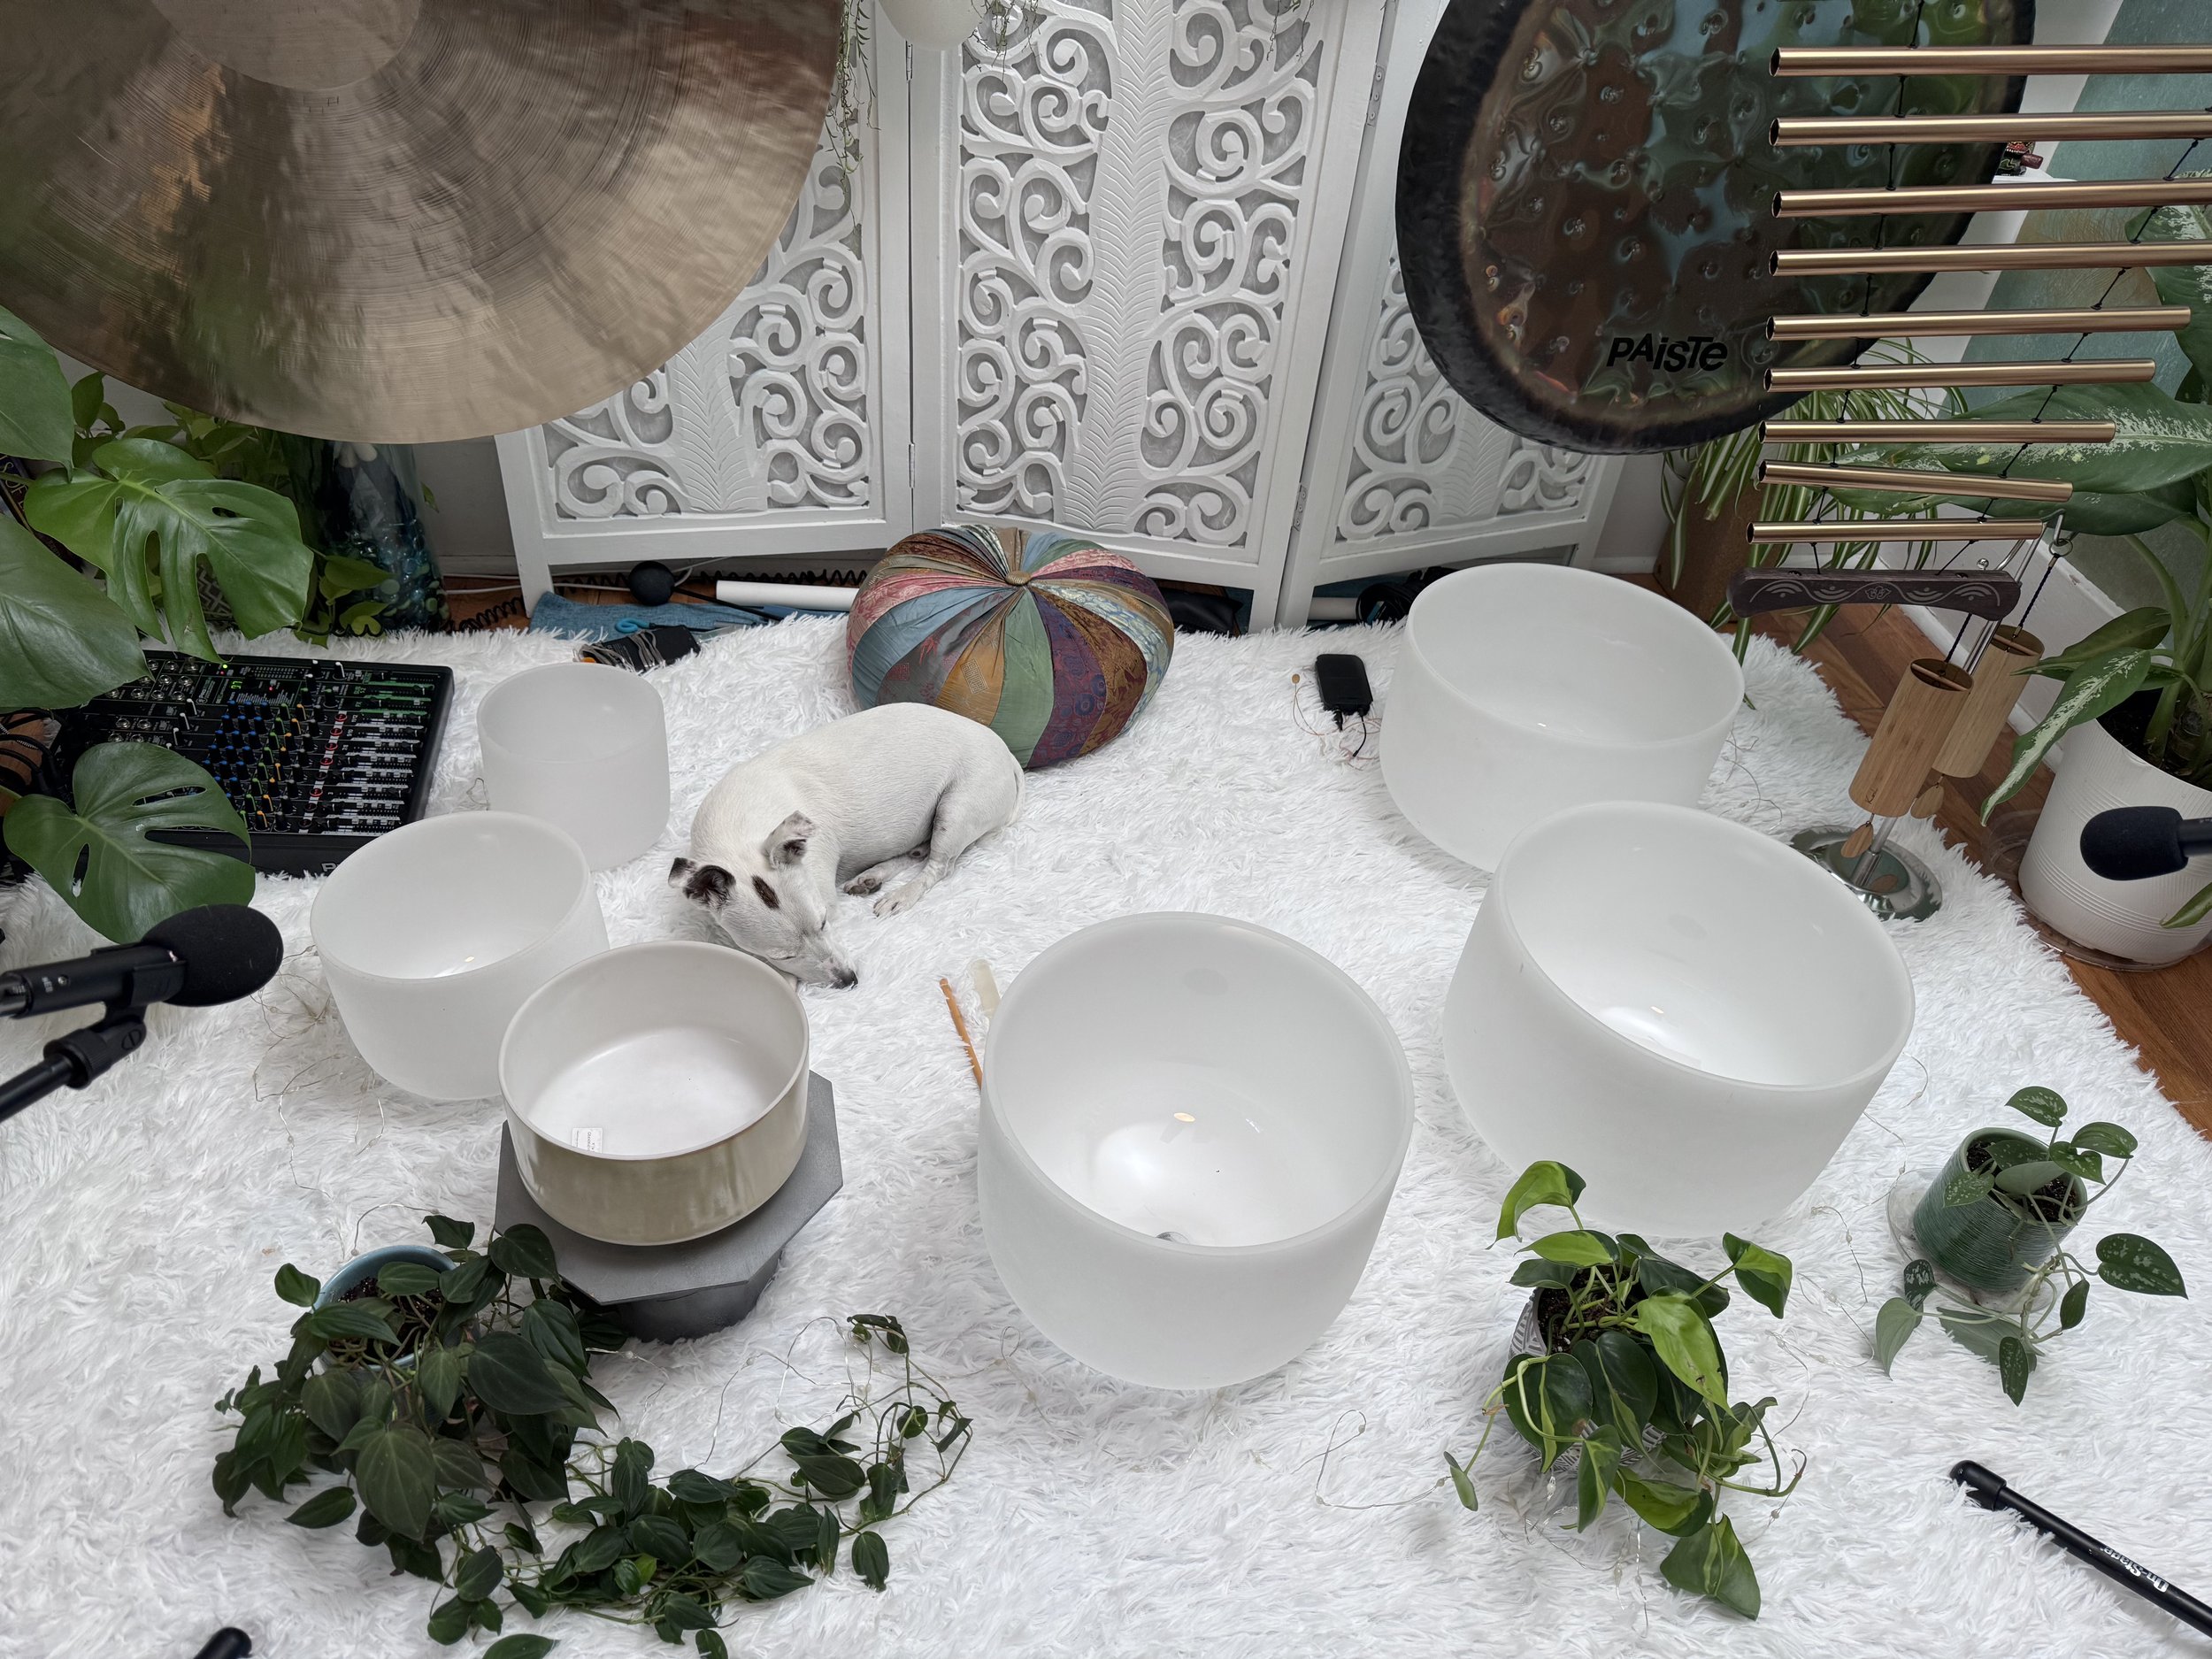
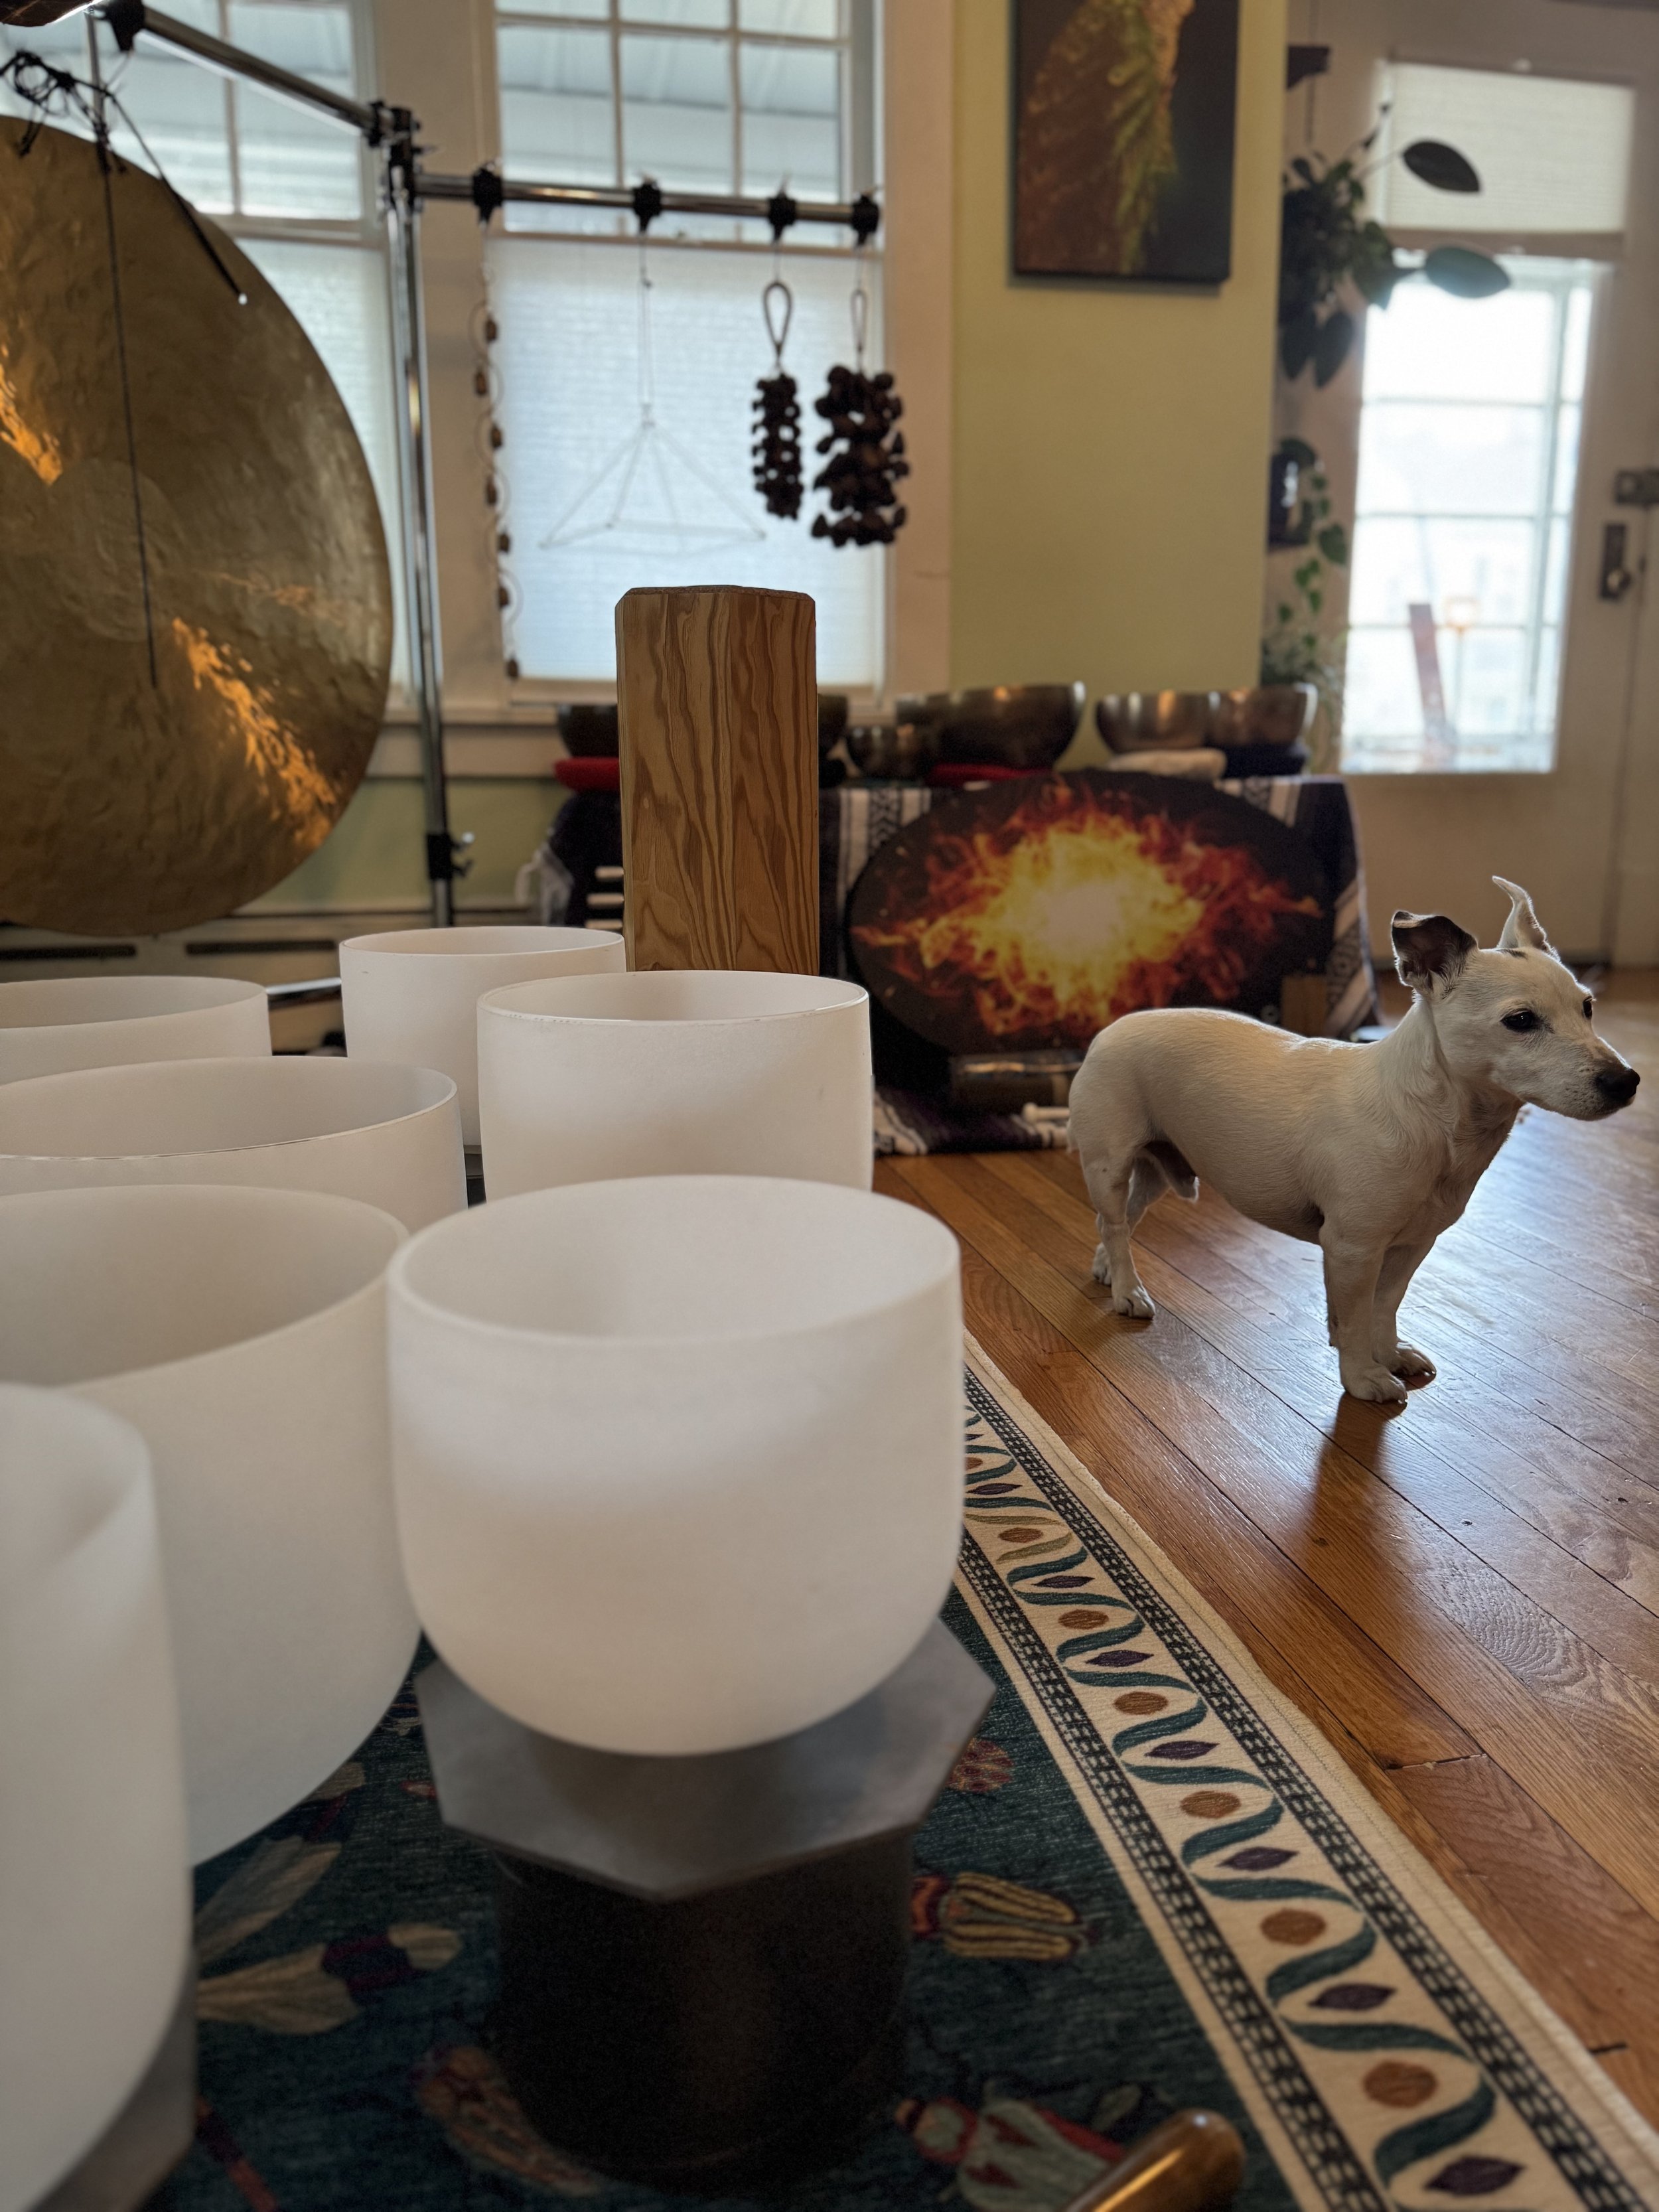
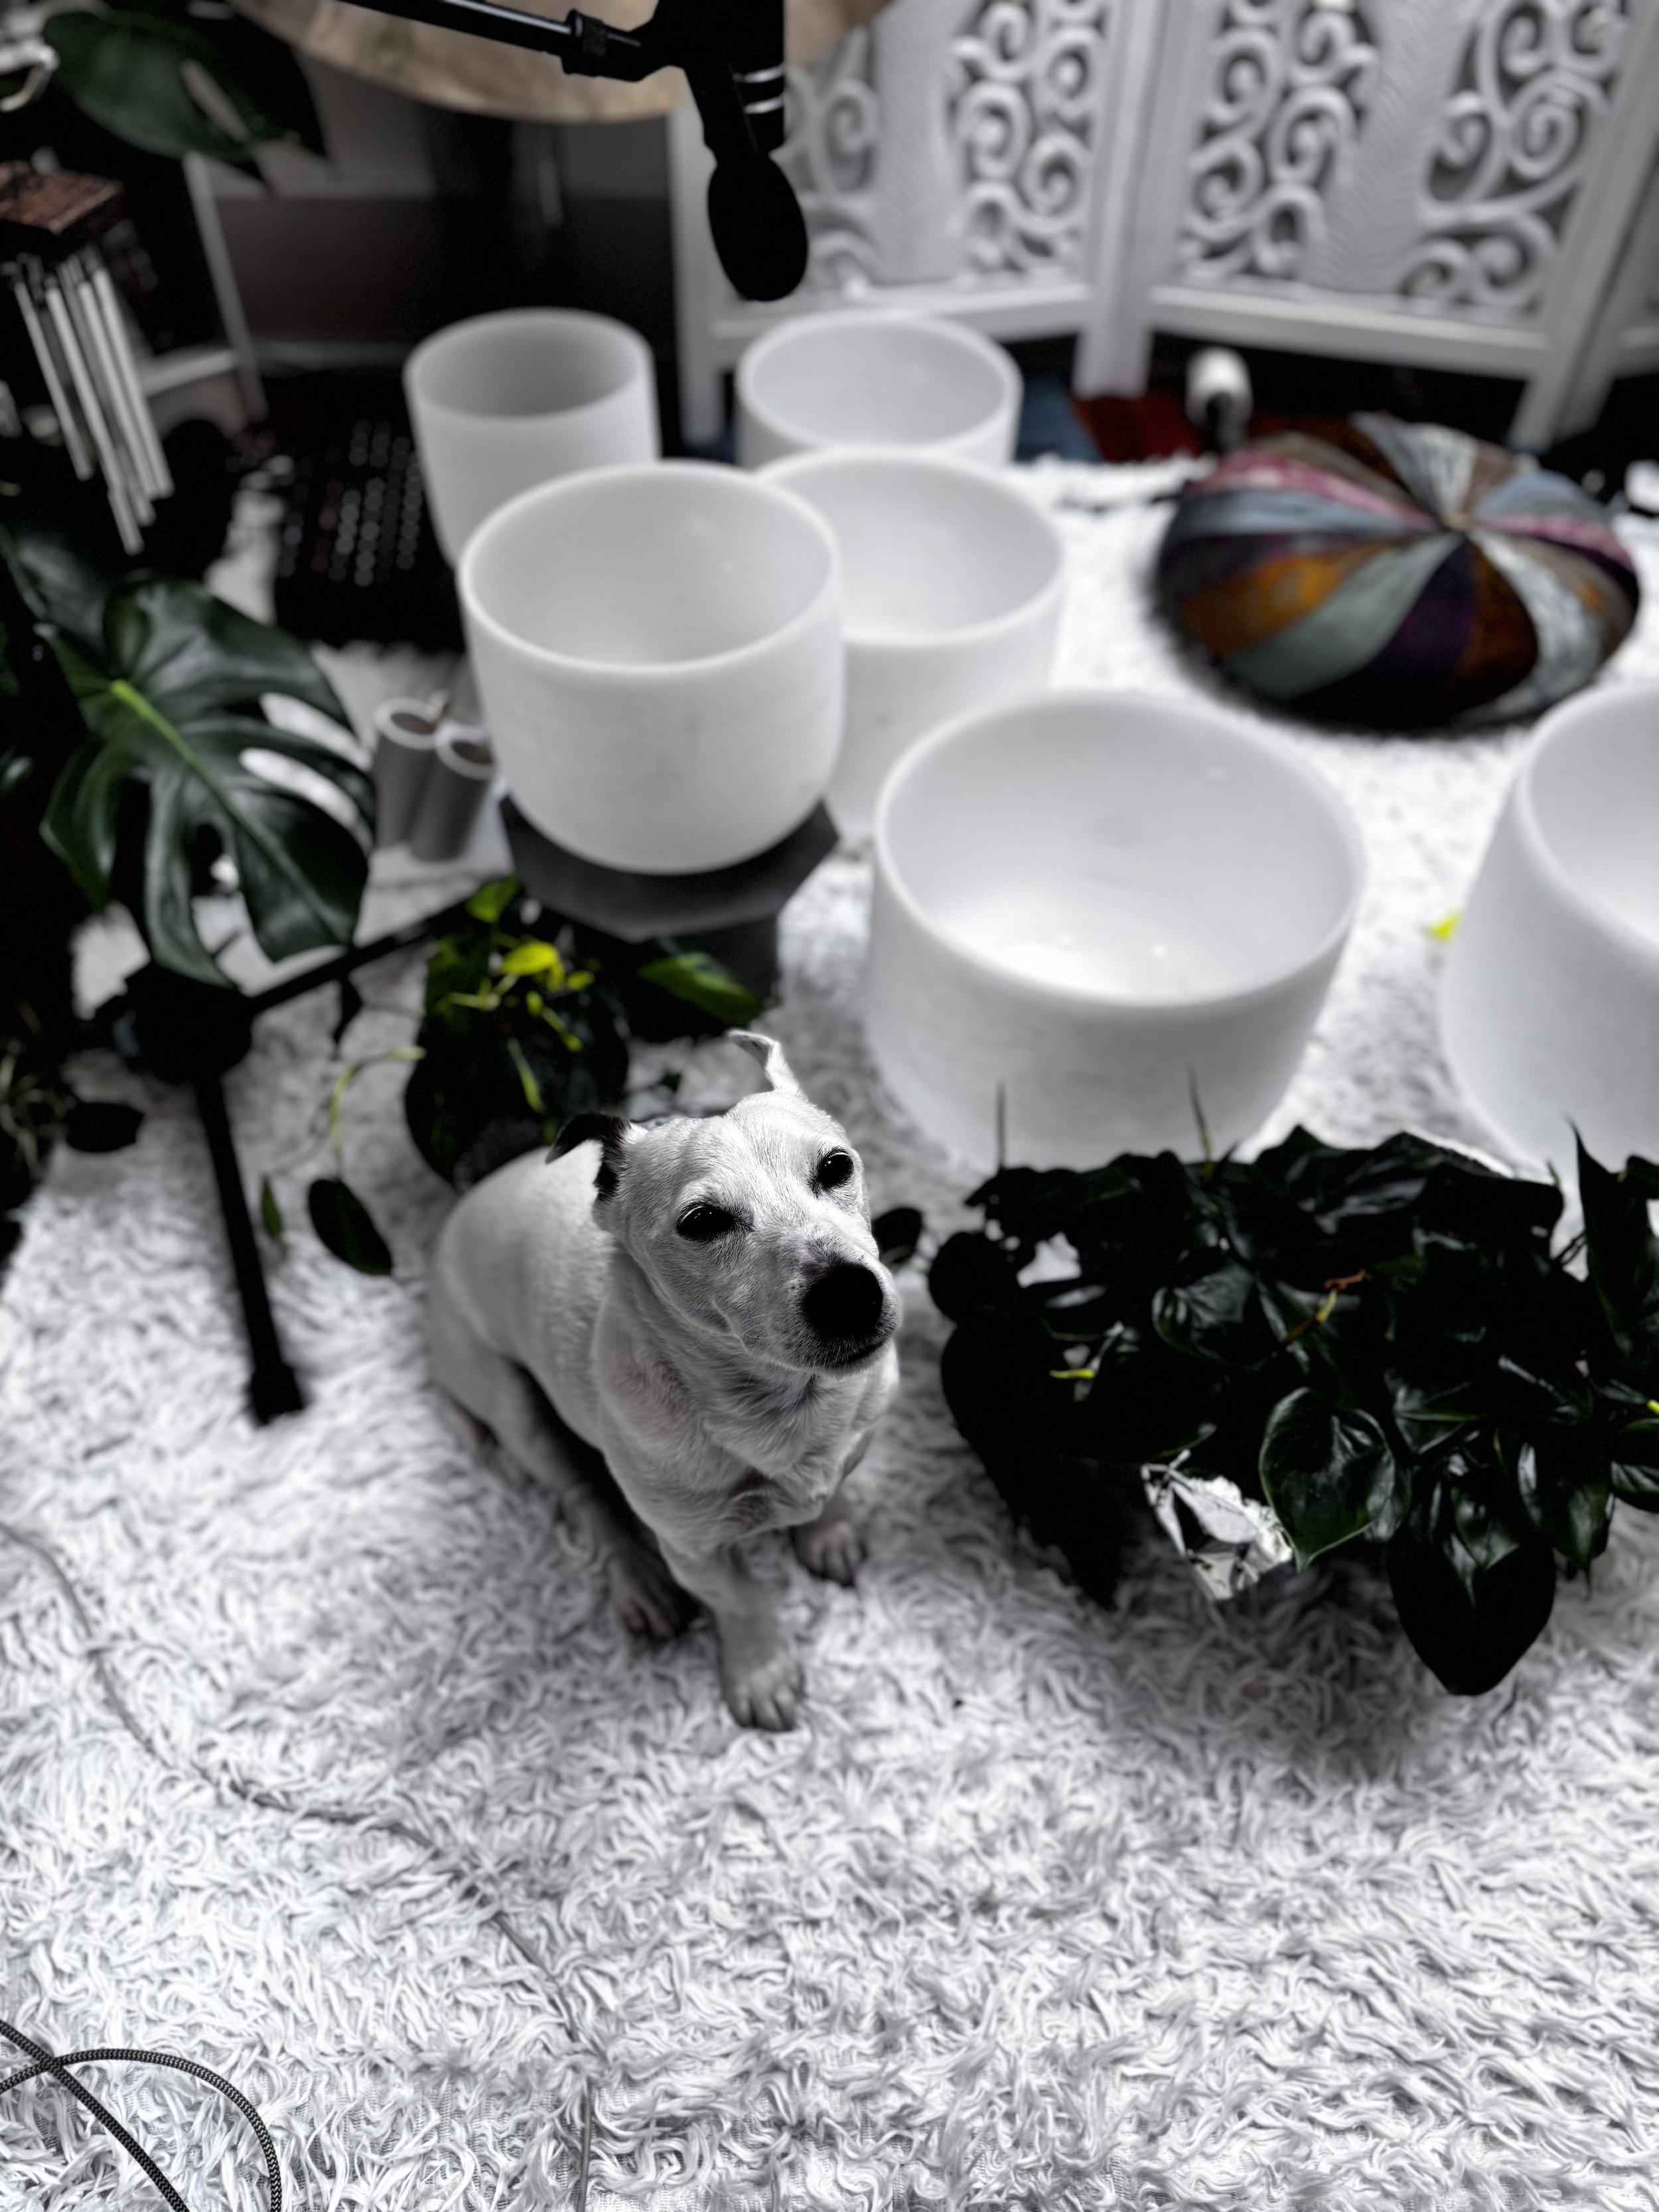
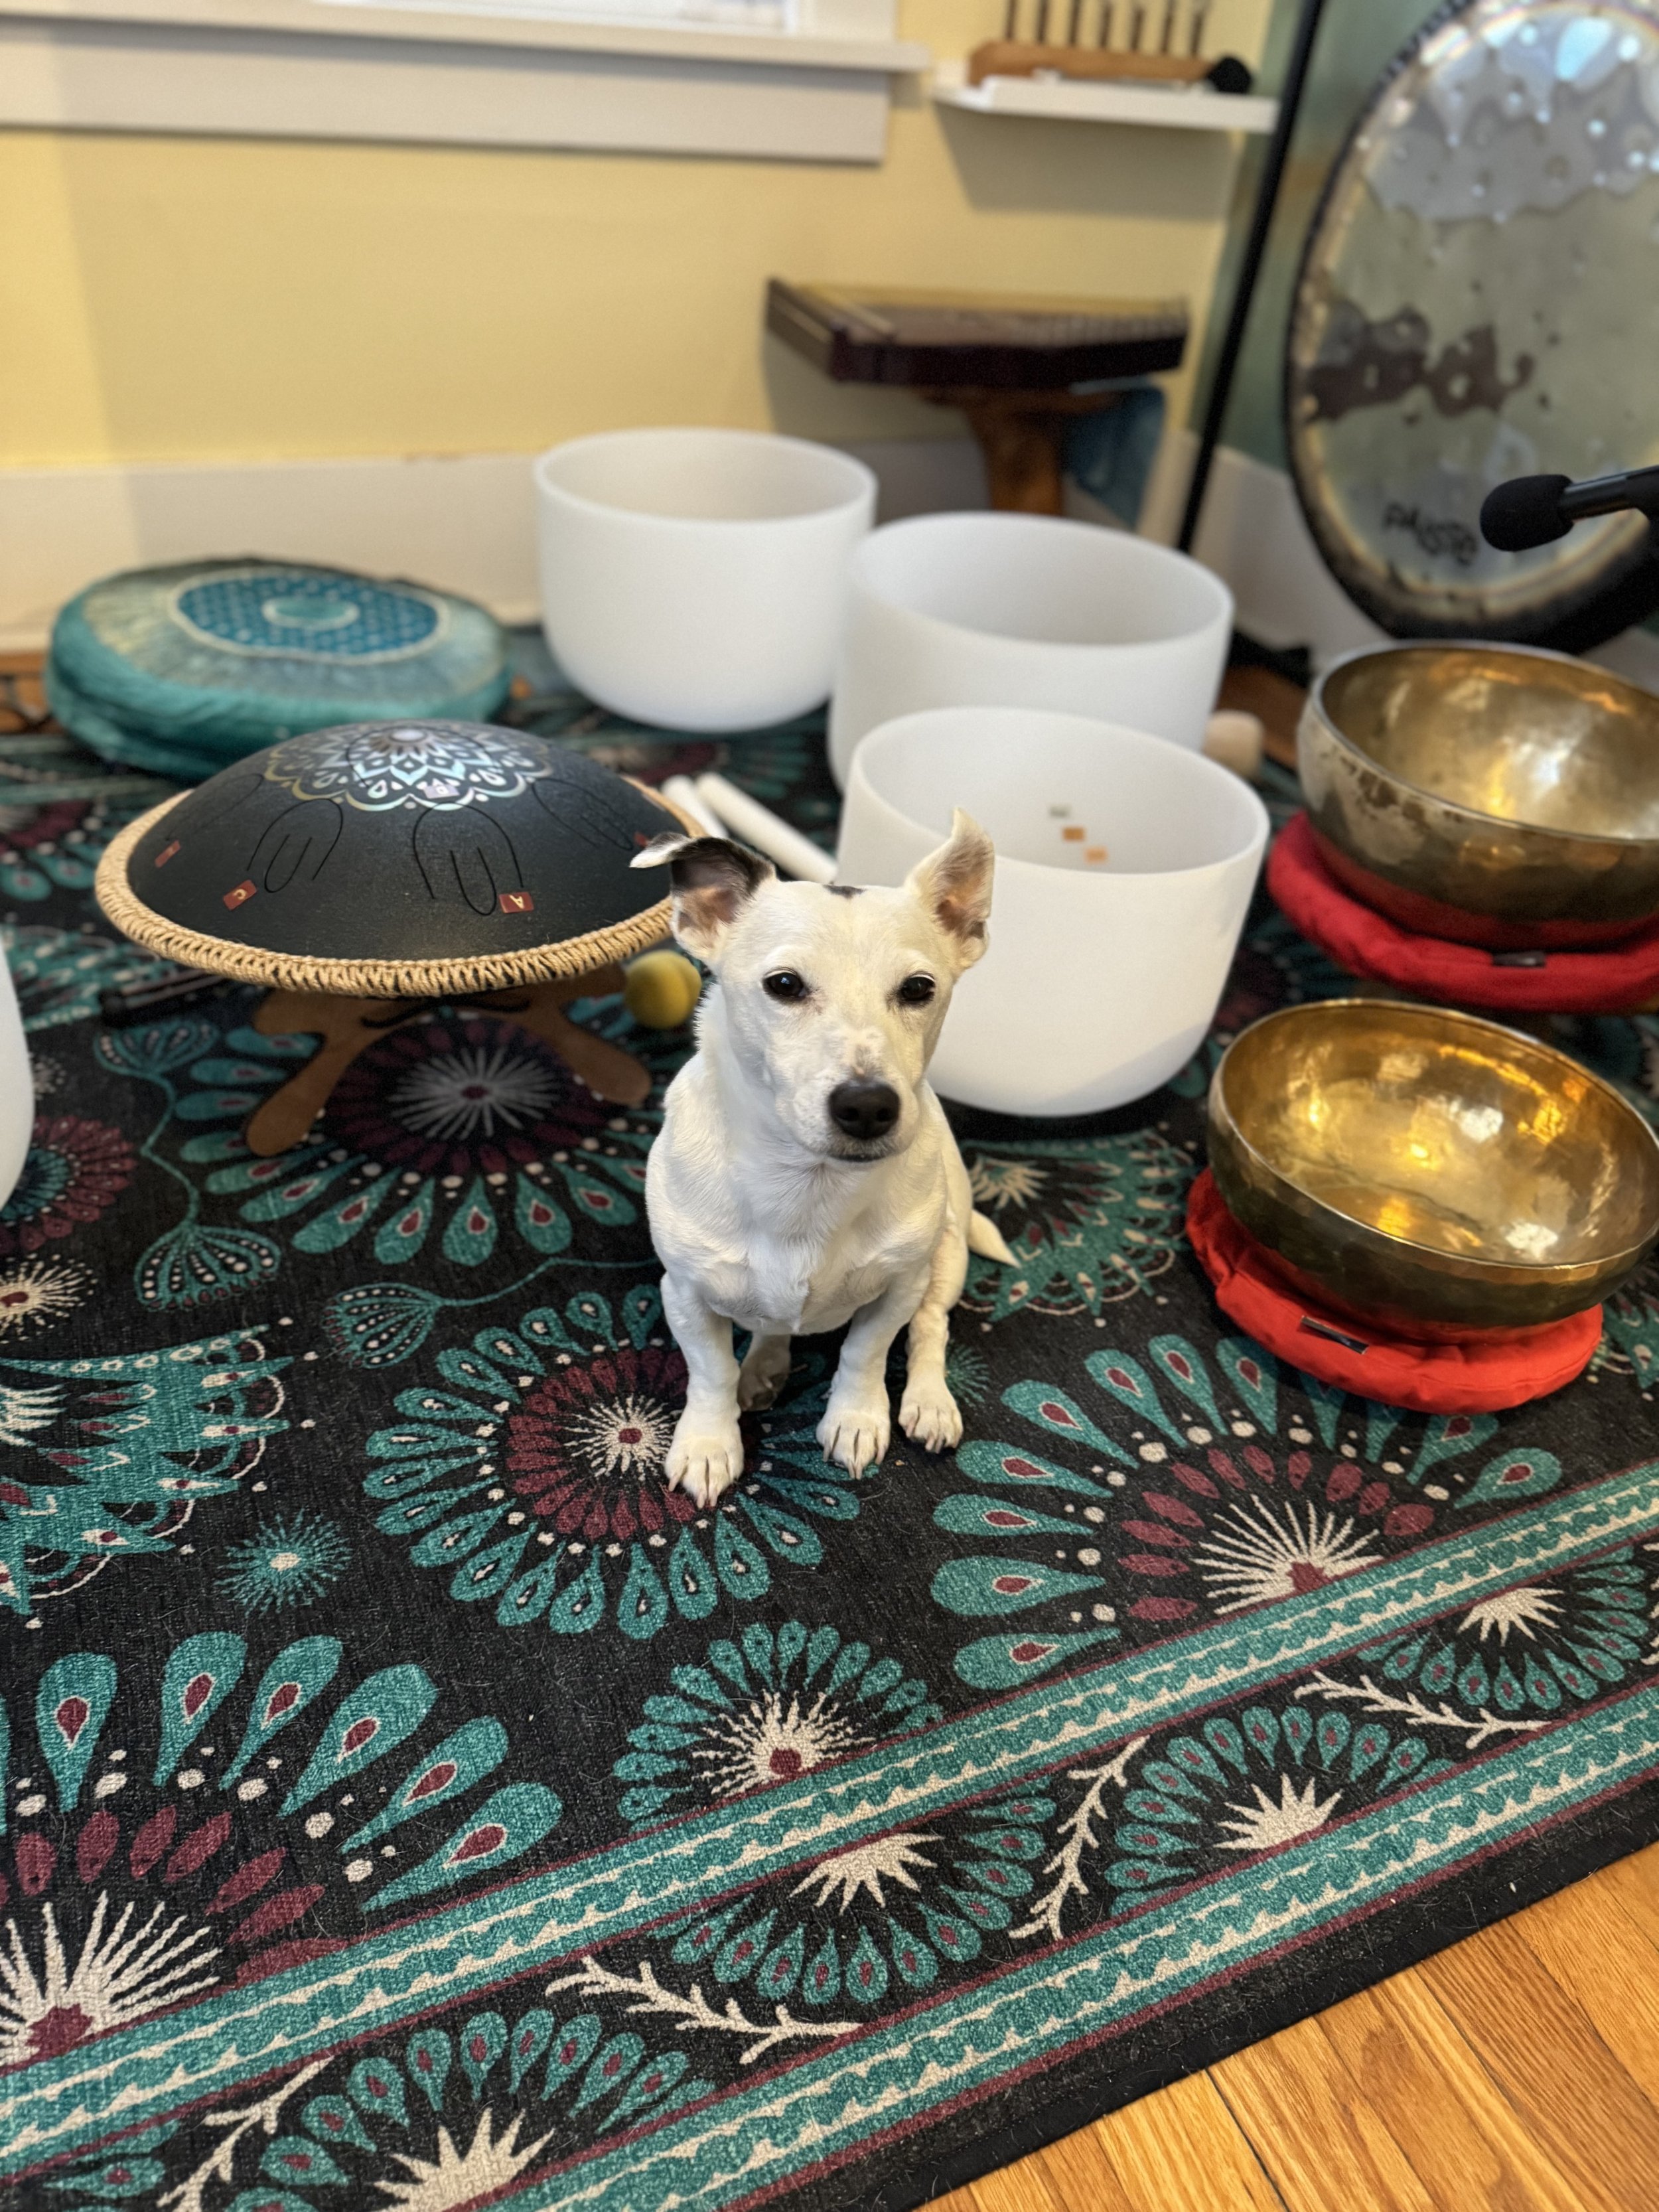
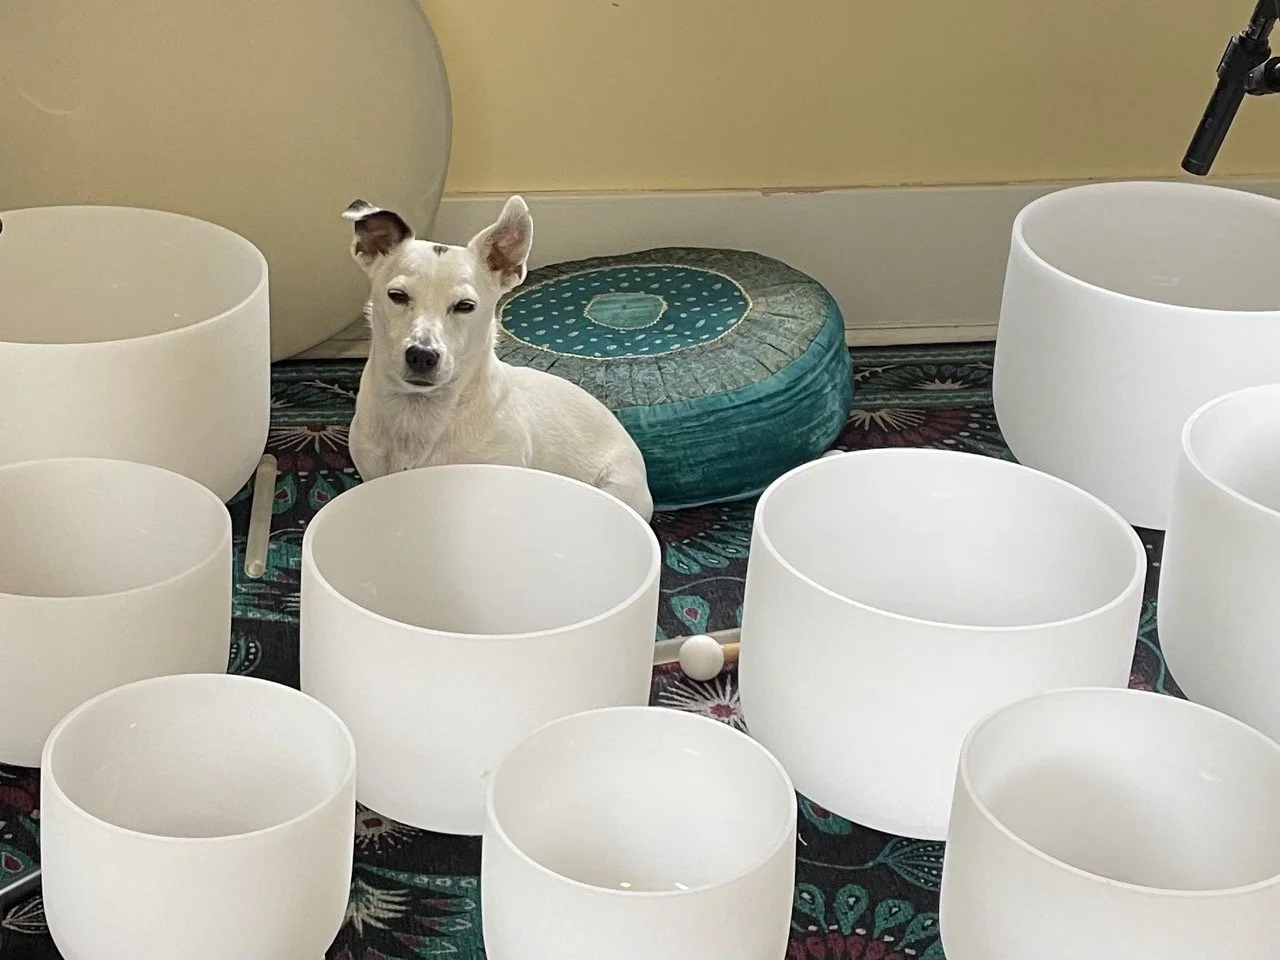
Apparently I'm not the only one who finds the nest appealing.
I've caught Simba right in the middle of it more than once, like he's claiming it before I even get the chance!
Level the Bowls (With an Actual Level)
Here's where the Virgo in me really shows up. I level every bowl — with a real level, not just an eyeballed guess. It has zero effect on the sound; a bowl sounds exactly the same whether it's perfectly level or slightly tilted. But it makes a real difference in how a session looks, especially on camera, and that visual polish matters to me just as much as the sound itself.
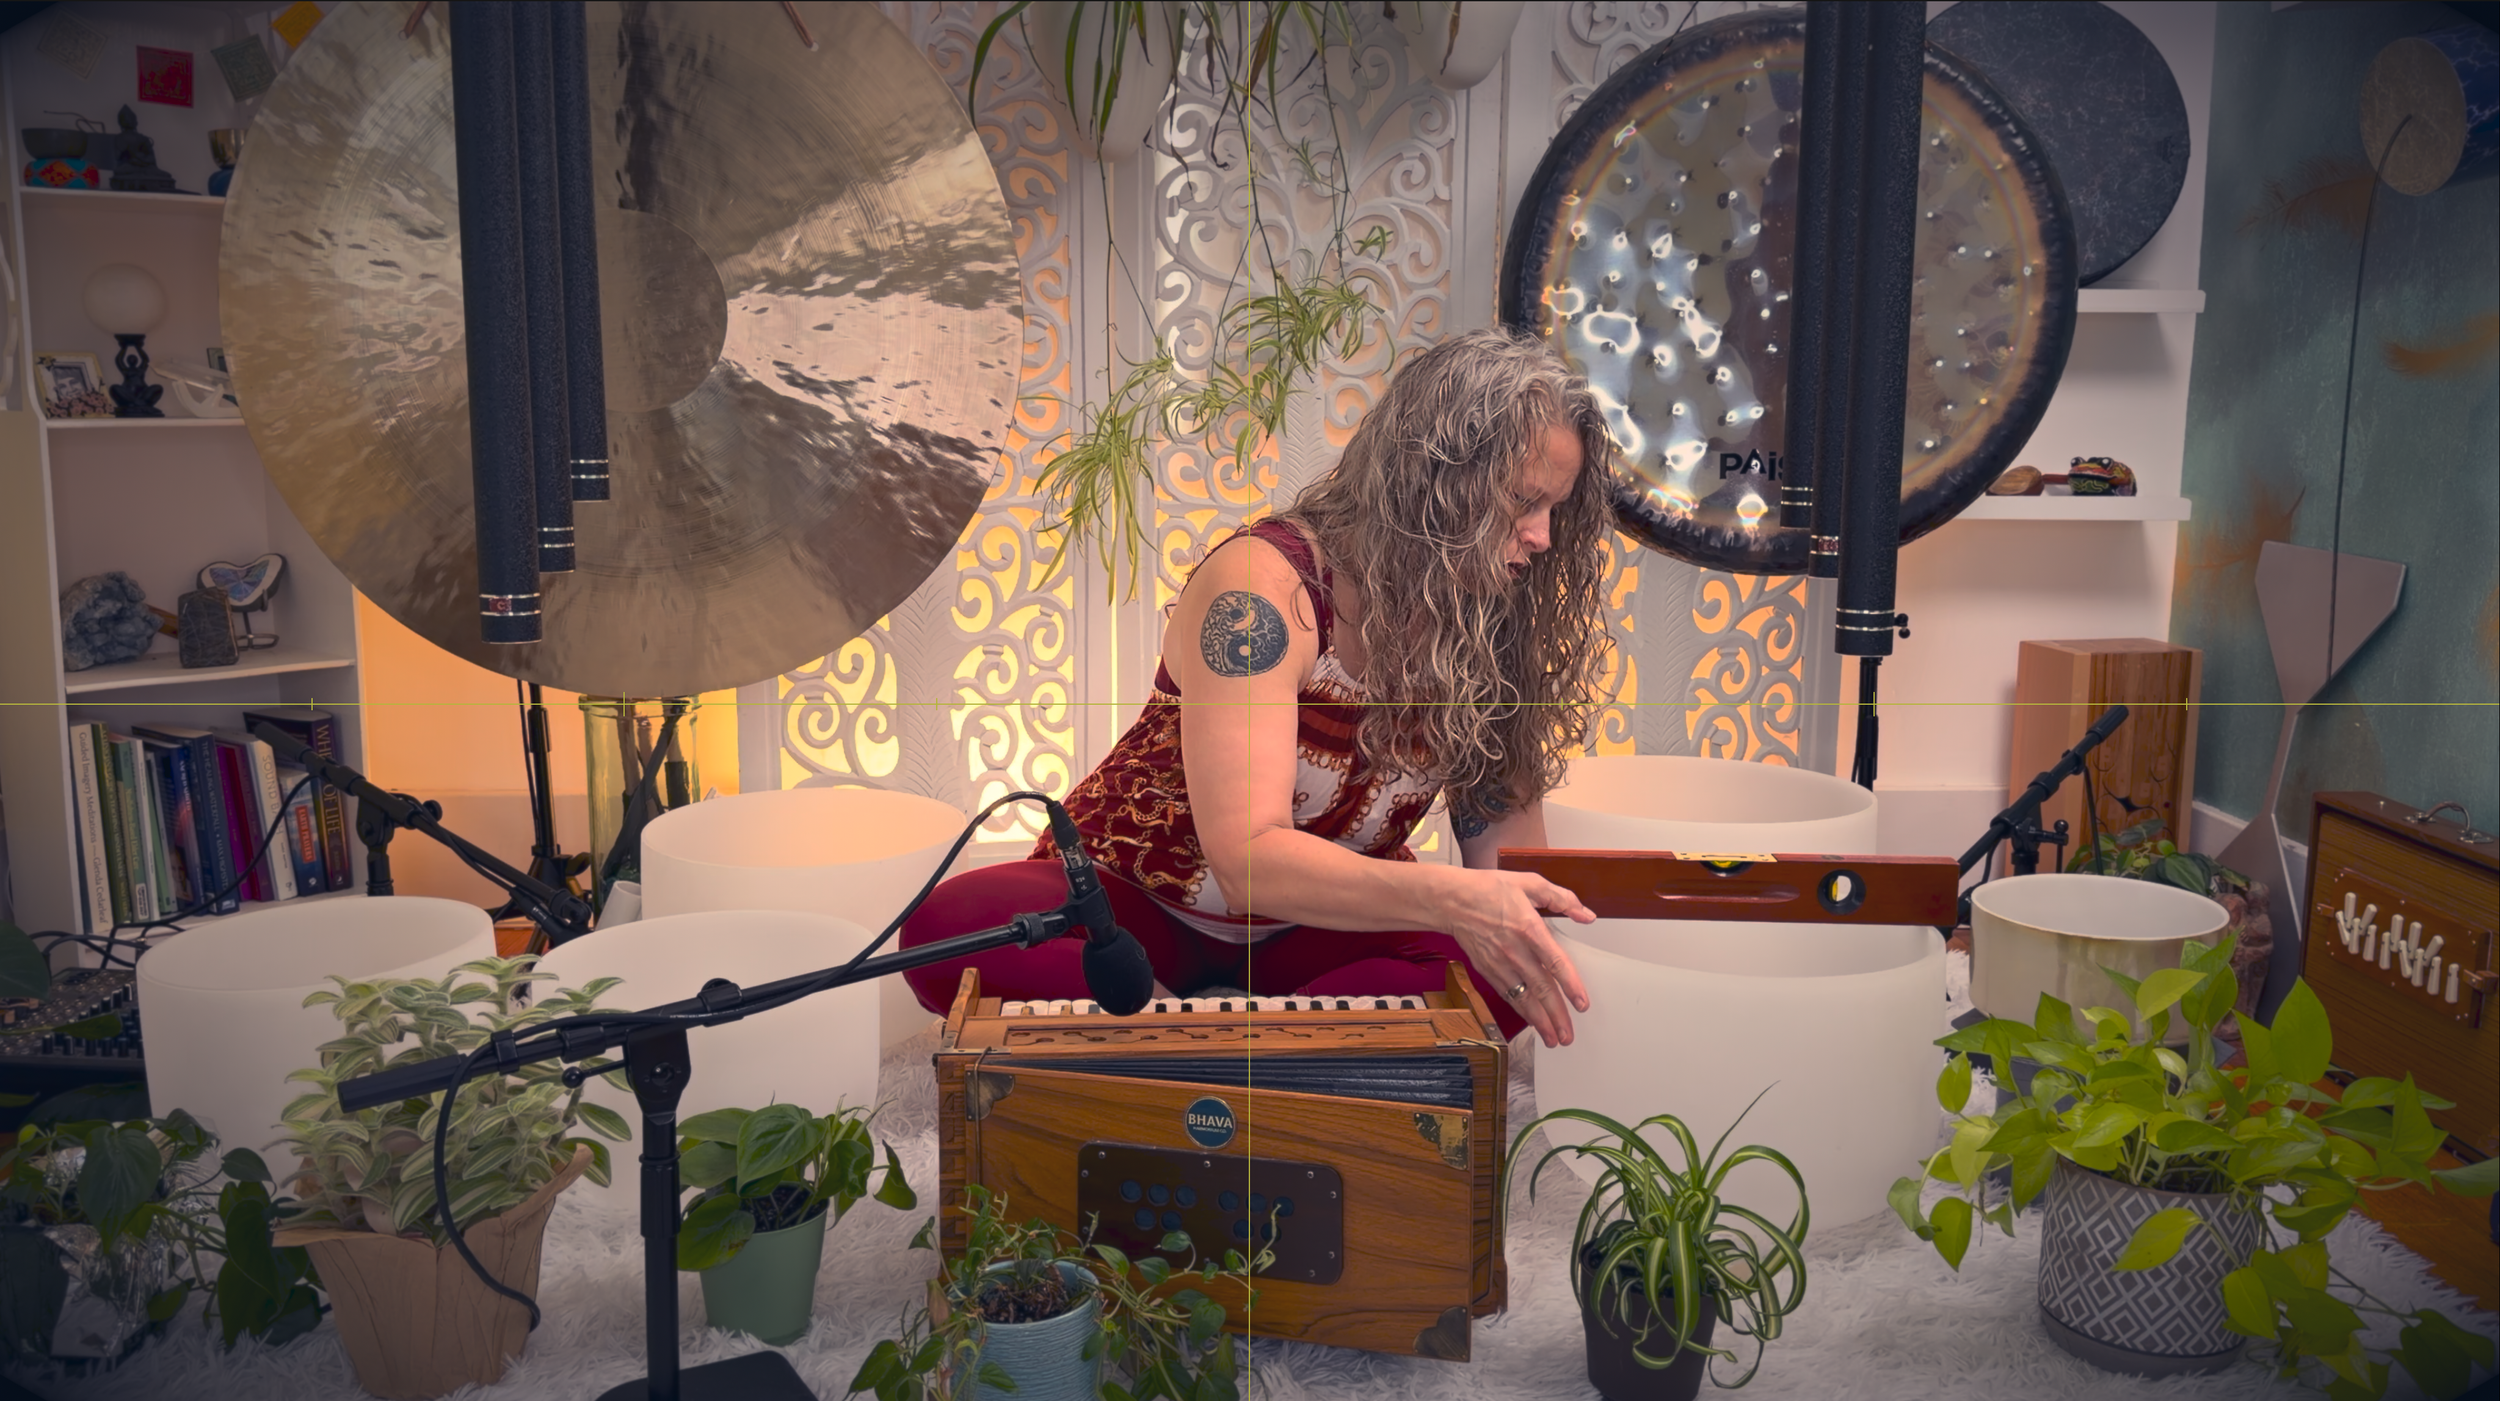
P.S. Those faint lines on this photo are the leveling mechanism in Final Cut Pro. And I also use the leveling feature on my iPhone’s camera. You might say I have a problem…
Testing
Before I ever hit record, I test every instrument — partly to make sure the mics are actually picking up each one clearly, and partly for a much more practical reason: making sure my mallet won't bump into anything mid-session. Another instrument, a plant, anything within reach of my arm as I move through the piece. It's a small step, but it's the difference between a smooth take and an unexpected clatter partway through.
Press Record — Twice
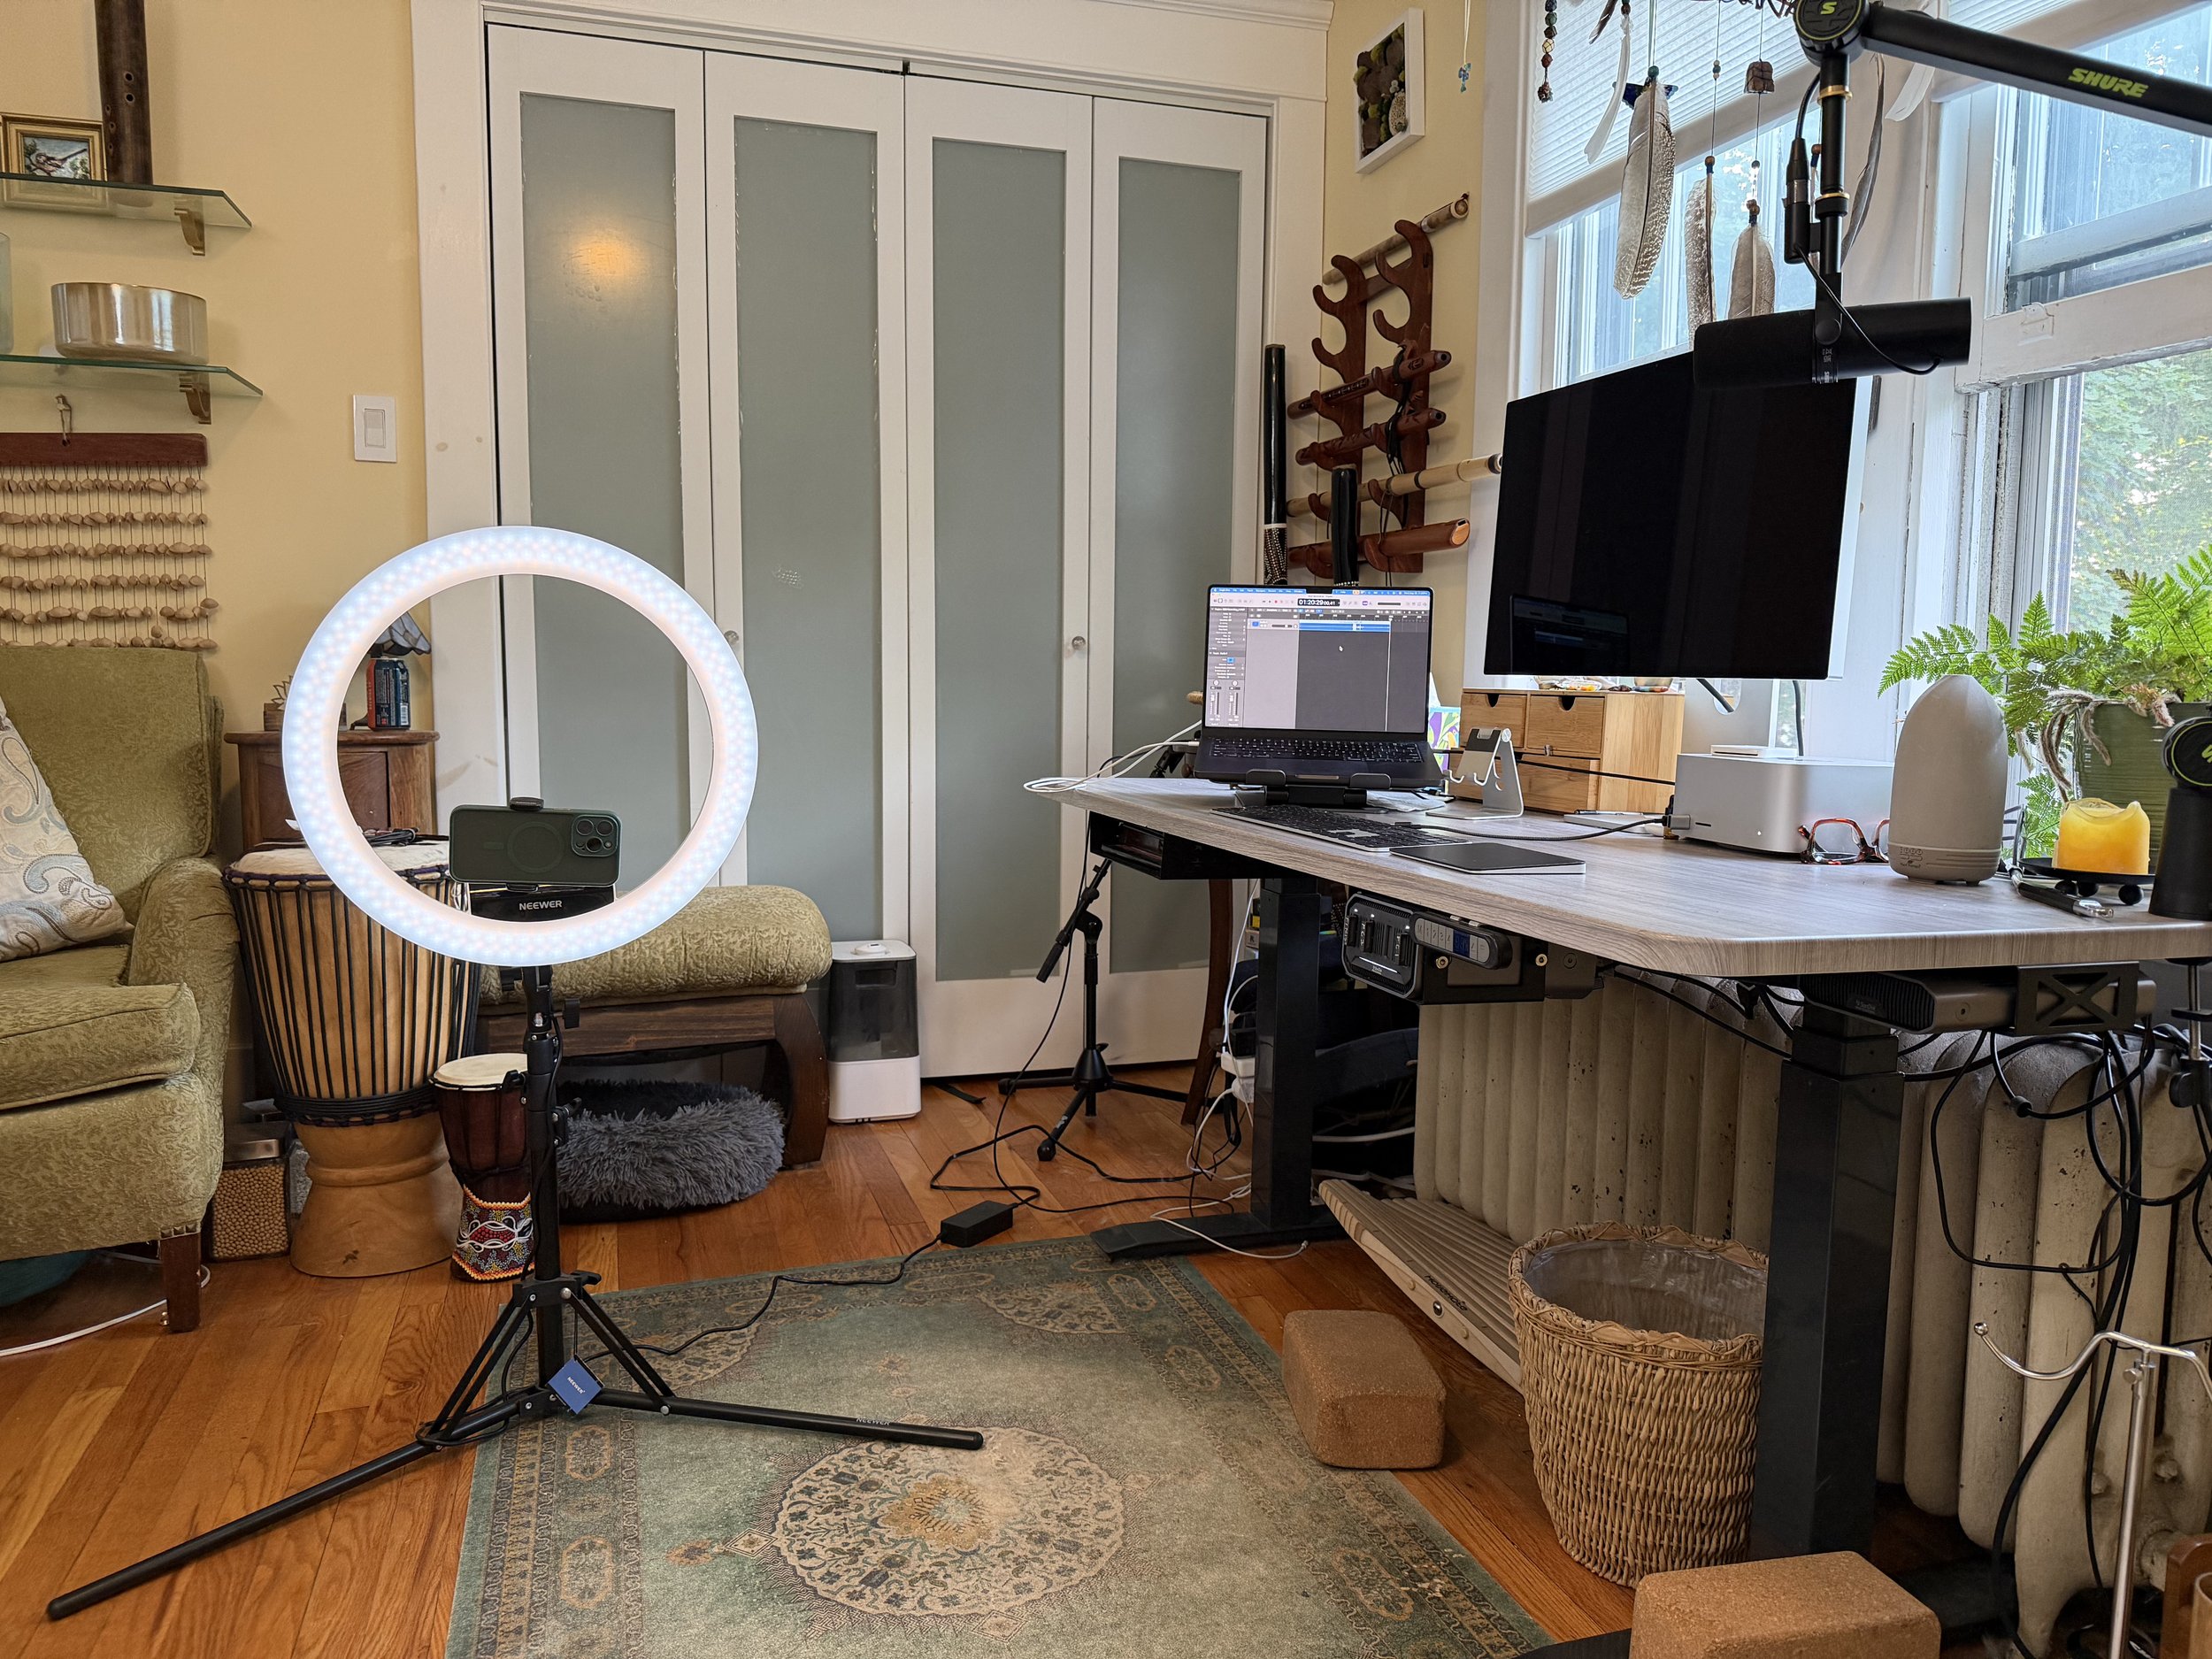
When it's finally time to record, I'm running two systems at once: video on my phone, and audio separately in Logic Pro. Capturing audio and video independently means each one gets the quality it deserves — the audio isn't limited by phone mic quality, and the video isn't compromised by trying to also serve as the audio source.
I've also learned, the hard way, to actually double-check that both are recording. There's nothing worse than playing for 45 minutes and only then realizing one of them never started. Well — almost nothing worse. Breaking a bowl still takes the top spot.
From Raw Footage to Finished Piece
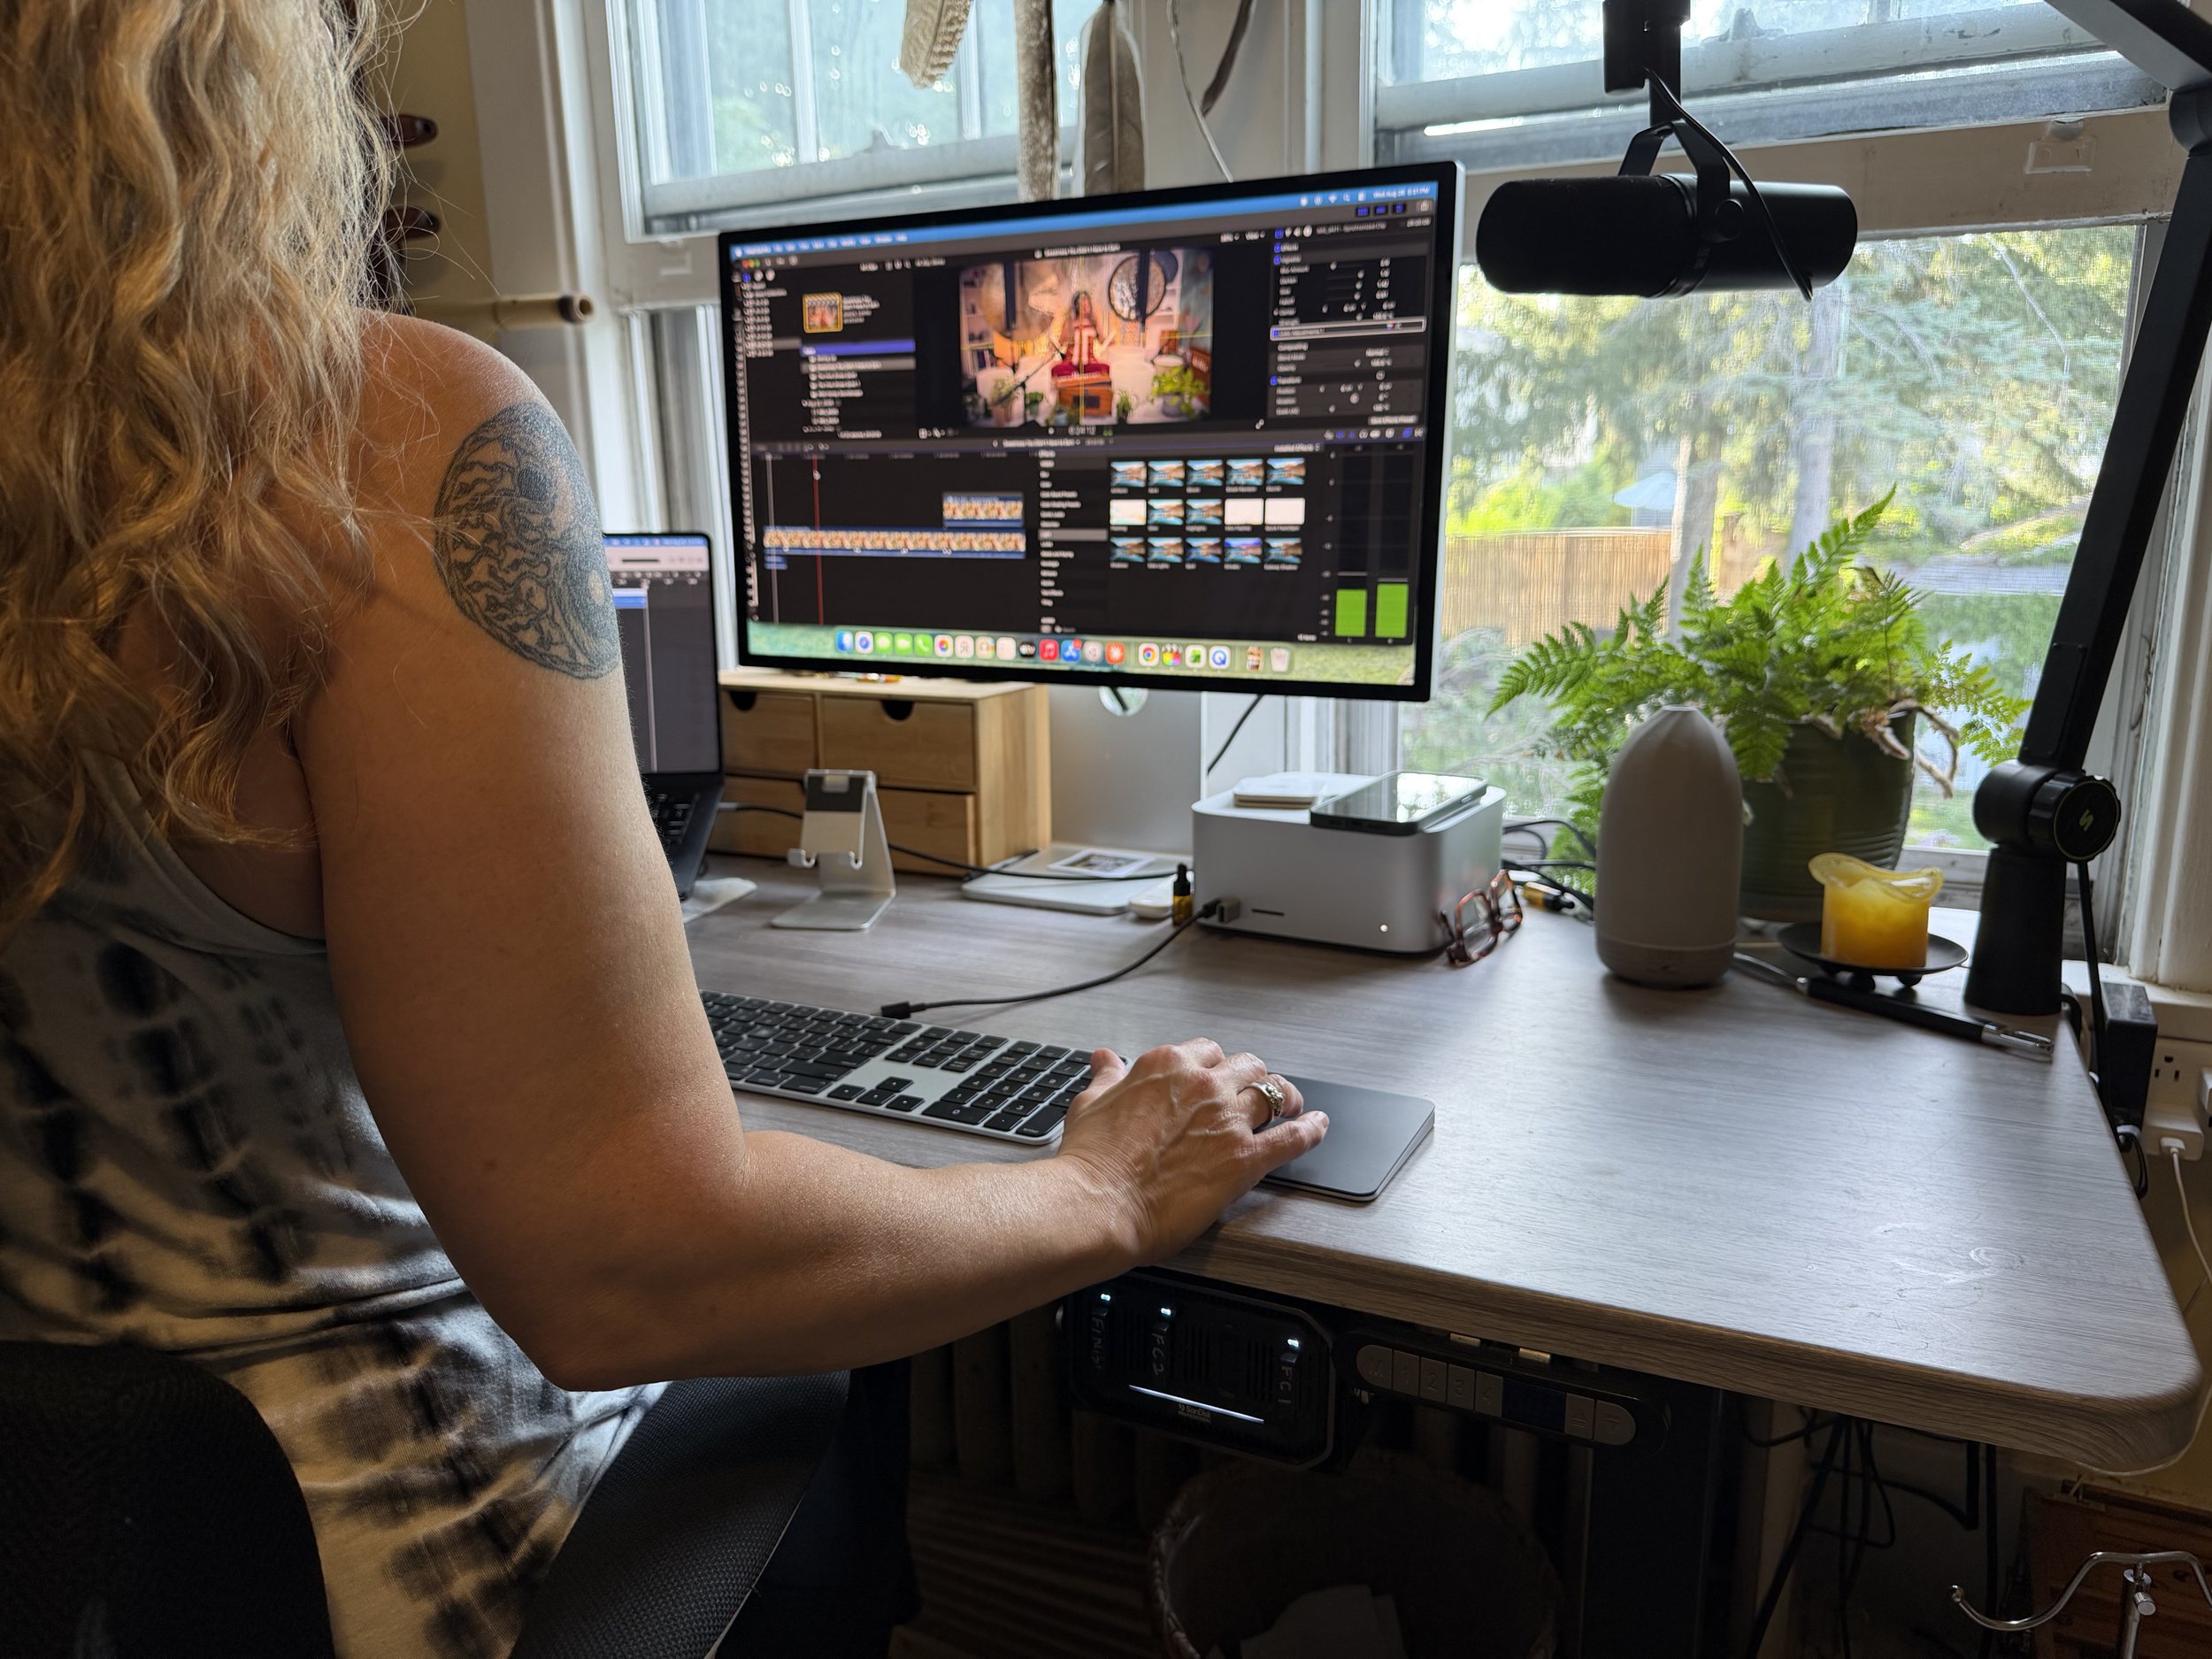
Once I finish recording the session, the real behind-the-scenes work begins. I import both the audio and video onto my Mac Studio and edit everything together in Final Cut Pro. From there:
I export the finished piece for upload to the membership platform
I pull and export shorter clips separately for editing in Canva, built specifically for social media
Why I Do It This Way
None of this is strictly necessary to make a beautiful sound — plenty of sessions happen with far less setup. But for me, the process itself is part of the practice. The intention behind the theme, the precision of leveling each bowl, the care in arranging everything — it all shapes the sound before I ever touch a single mallet to a bowl.
So the next time you watch that hyper-speed video, you'll know: those few seconds of leveling and testing are really just part of a much longer process — one that starts with a theme and a key, long before a level or a mallet ever comes out.
